Often this dimension needs to be measured in fairly high volume and frequently in the machine.
When the application indicates both a tight tolerance and a production environment in the same sentence, then air gaging tops the list for possible solutions. Let's look at a larger OD on a part where an air snap gage might be the gage of choice, as it provides the accuracy needed and can be used at the point of manufacture. While air gaging is probably the best solution, there are still some measuring characteristics that need to be addressed in order to provide an easy to use and successful application.
The first is the length or width of the land to be checked. For air gaging to work properly, the air jet -- the actual measuring part of the air system -- has to be completely covered to provide the back pressure necessary to sense the diameter. In many cases, a typical air jet is 0.050" in diameter, meaning the land has to be at least that wide. But there are two potential problems. The first is that the width of the land usually has some tolerance on it, meaning that there will be some width variation. Second, positioning the jets exactly on the land so that the jet is covered can also be a problem. Since we want the gage to be fast and easy to use, we cannot afford to have the operator spend time trying to position the air gage to within a few tenths to cover the jets. Thus, one of the rules we like to use when measuring a land is to have a width of at least 0.1" to ensure that the jet is covered and that it is relatively easy to position the air gage.
But even having this minimum land width can present a problem. The way an air snap or even an air plug gage works is that they are made very close to part diameter, and thus use the part to align the tool to the bore or to the ID. So when the bore is very short there is not much surface available to do the aligning. This means the operator has to get involved again trying to align the tool to the bore. This introduces operator influence and degrades the performance of the gage.
This is where a good strong shoulder stop comes in handy.
A good shoulder does two things for this application. When designed properly, the shoulder stop will position the jet to the center of the land. So even if the width varies slightly, the jets will be totally covered, allowing for a reading. The second benefit is that the shoulder squares up the gage, making up for the lack of land, and takes away the operator influence.
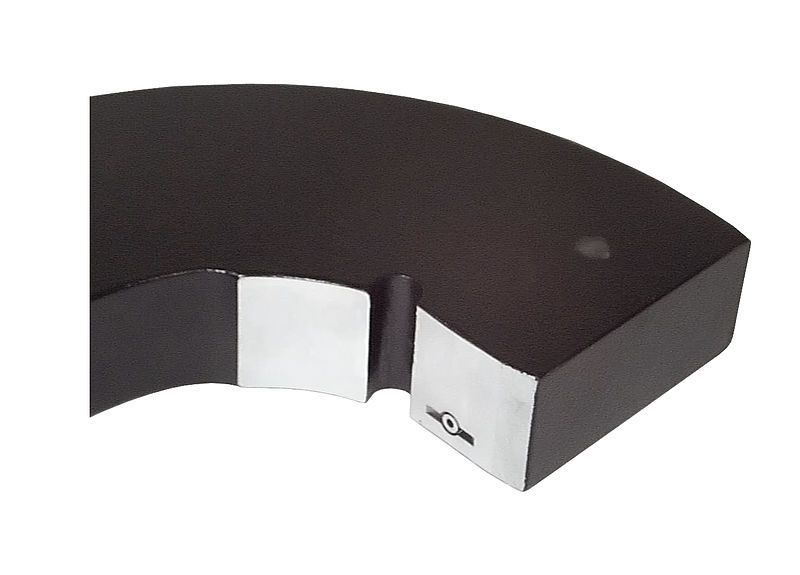
There are a couple of ways to build a shoulder into an air snap gage. The most obvious is to machine the shoulder right into the snap. This works best when the land being measured is close to the end or another smaller diameter to rest against. But on some parts there may not be a good diameter to rest against for some distance. In cases like this, a tubular extension can be added to the air snap and used as the stop to square up and position the air jet on the land to be measured.
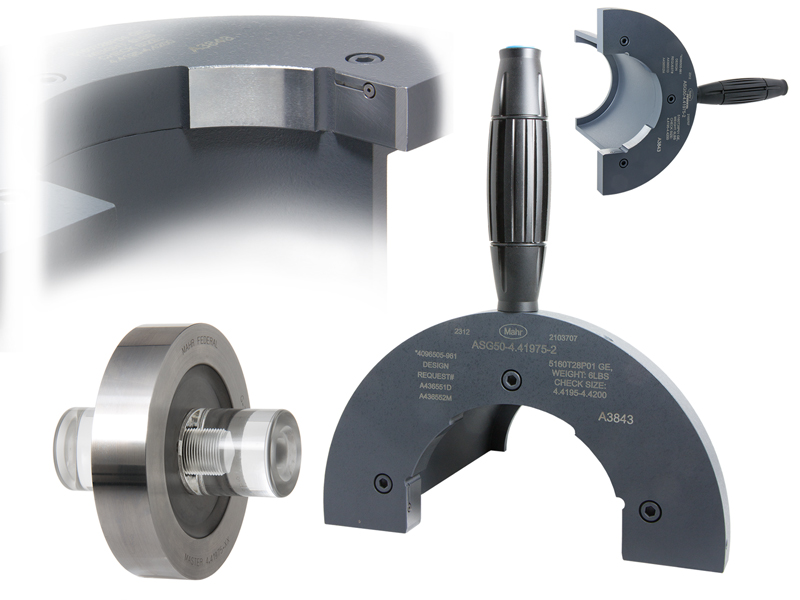
There are also other ways to skin this cat. For example, an air ring can be designed as a shoulder style where the air jet is brought close to the face of the air ring. Thus, the face is held against a reference surface of the part, which again squares up the diameter being measured and positions the jet to the correct location.
For ID gaging it's a bit simpler. Usually a stop collar can be incorporated to both position the jet and square up the plug on a short land inside the bore: an easy and simple addition but one that saves the operator from having to search and look for the land being measured.
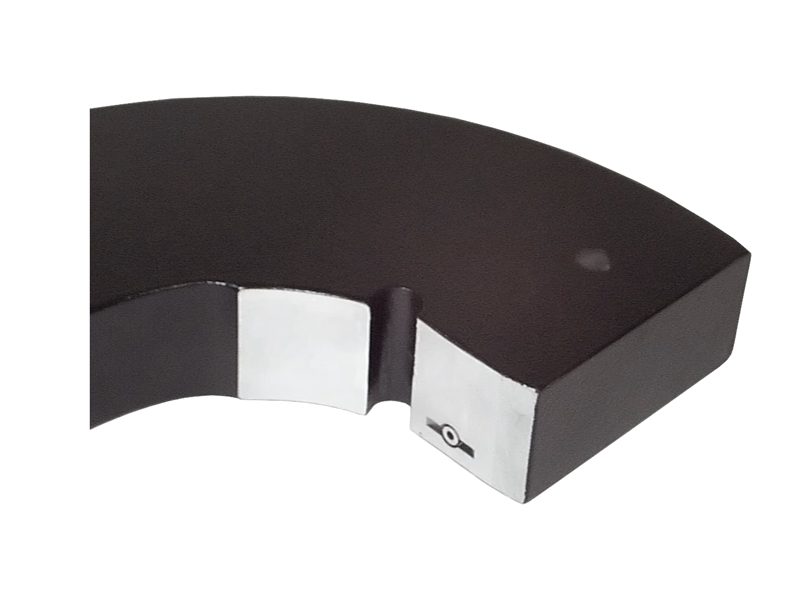
The most obvious way to build a shoulder into an air snap gage is to machine the shoulder right into the snap. This works best when the land being measured is close to the end or another smaller diameter to rest against.
An air ring can be designed as a shoulder style where the air jet is brought close to the face of the air ring. Thus, the face is held against a reference surface of the part, which again squares up the diameter being measured and positions the jet to the correct location. For ID gaging, a stop collar can be incorporated to both position the jet and square up the plug on a short land inside the bore.


