You're not alone. Nor is it uncommon to find that manufacturing tolerances have been tightened as the demand for more efficiently running parts increased. Maybe when the parts were first made the bearing diameter was
+/-0.002", then it was changed to +/-0.001", and now you are expected to hold +/-0.0005". All with the same machines and the same gages bought years ago.
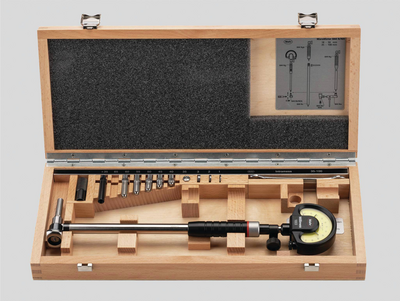
Again, not an infrequent situation. And while it may not always be a problem, it is a clear signal that you should take another look at your gaging. Gages designed to measure to 0.001's are substantially better than those built for lesser tolerances. With a little tender care, these gages are often able to squeeze a few more 0.0001's out of them. Here are some pointers for ensuring that the performance of your gaging can keep up with the demands of changing part tolerances.
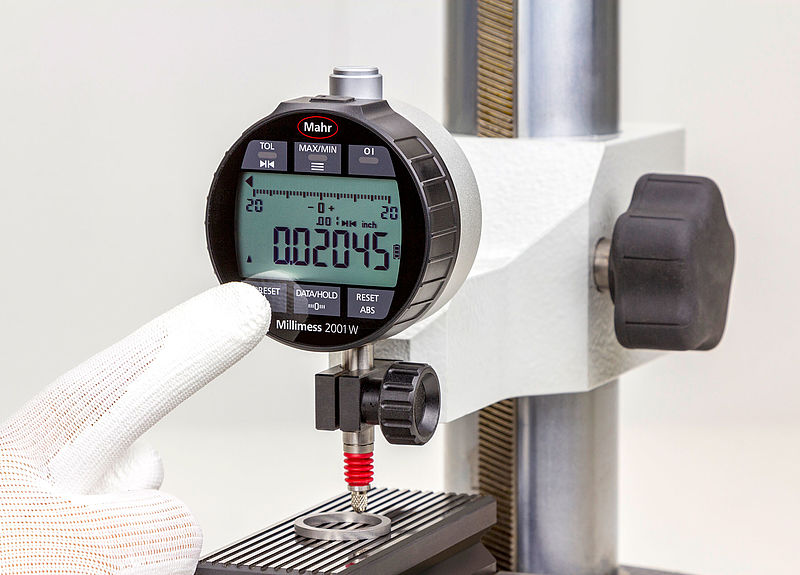
First, check the readout device. Maybe the gages were originally supplied with dial indicators having grads of 0.0002" or 0.0001". For a +/- 0.0005" tolerance, this will not be a good fit. The operator will have difficulty discriminating the tolerance band and the indicator will not utilize enough of the dial span. Best to change to a 0.0001" grad indicator or better yet, put in a digital indicator having 50µ" or 20µ" digital resolution. Now the operator can resolve sufficiently to make better good/bad decisions.
This is not the catch-all for tighter tolerances, however. The gage needs to be capable of doing the task, or else there will be far too much repeat error for the gage to be useful.
Checking with the gage manufacturer will help you understand what the real limits of your gages are before you go too far down this path. Maybe the gages were not designed to meet the new tolerance requirements. This could mean a new investment in gaging is required. But for some gaging, like fixed body gages, such as air plugs or mechanical plug gages, body clearance will be the deciding factor on whether the gaging is going to be capable. The gage may need to be reworked to reduce the body clearance and thus reduce the amount of centralization error in the plug. This reduction will greatly improve the repeatability and performance of the tooling.
Often with this type of gaging, a simple added piece of fixturing can take out most of the operator influence on the measurement. For example, with the same fixed plug gage, the addition of a stop collar can help square up the part and bring the measuring contacts to the same spot, thus greatly reducing the influence of part irregularities on the measurement.
But at the end of the day, you are most likely to improve the performance of your gaging by applying a bit more tender loving care. Gages that have been serving you well for the past 5 or 10 years are probably a little frayed around the edges. They have been used 100,000's of times, three shifts a day and have done a great job. The only time they were ever looked at were those once-a-year calibrations or when someone knocked them off the bench and they became unusable. They still make good parts, but maybe they're not so good with tighter tolerances, and it's time to get them on a more regular and rigid inspection schedule.
Maybe it's also time to start looking for those enemies of precision gaging that can steal away a large percentage of your tolerance. On fixed plug gaging, for example, warn bodies increase clearance and reduce performance. After measuring 1,000's of parts and exploring their diameters, contact points start to become worn. Large worn spots on a pair of contacts can cause two errors. One, they can report different sizes than a similar gage having fresh new contacts, and secondly, the flat area can span gaps or imperfections in the part that a new contact may find. These are often the types of errors seen when two lines are using the same gaging, but one is newer than the other. The gages just "see" the parts differently and the error is not found until the parts are being assembled, when it's too late.
Finally, the real enemy out in the shop is the environment. For these tighter tolerances, cleanliness needs to become second nature. The gages need to be treated better and wiped off and blown clean more often. So, too, with the parts. Chips, grease, or coolant can begin to influence readings. You may want to make wiping the part clean before measurement a required part of the operator's measurement process.
With a little more care and tolerance consideration, those gages that you have been using for years may still be able to meet increased performance requirements based on new part tolerances.


