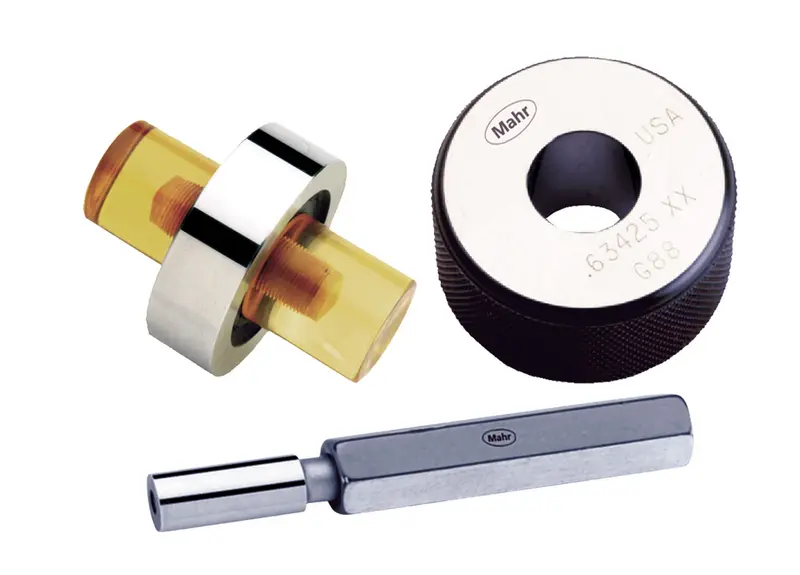
The precision hole is often used as a setting master for variable inside-diameter gages (such as bore gages, air tooling and mechanical plug gages), for go/no-go mastering of fixed ID gages, and for go/no-go OD inspection of male cylindrical work pieces. Ring gages are made from steel, chromed steel for durability and corrosion resistance, or tungsten carbide for extreme wear resistance.
They are often classed by level of accuracy, with XXX indicating the tightest tolerances; XX, X and Y being intermediate grades; and Z being the lowest. Class tolerances vary by size. Larger sizes have more open tolerances since they are harder to manufacture. Tolerances may be bilateral for use in setting variable gages, or unilateral for use as go/no-go gages. For rings, “go” is minus; for plugs, it’s plus. Go/no-go gages may often be identified by a groove or ring on their knurled outside diameters.
Example: for a 0.820” master ring the following tolerances would apply:
Class XXX= 0.00001”
Class XX= 0.00002”
Class X= 0.00004”
Class Y= 0.00007”
Class Z= 0.00010”
Of course, the better the class the more you have to pay. If you want to stay at a 5-star hotel or get the highest grade for your engagement ring, be ready to pay for it. It’s the same with master rings. The XXX ring is manufactured to a tighter tolerance, and there is cost involved with this. It may take longer to manufacture, take the skill of a higher paid technician, or if something goes wrong, it may have to be remanufactured and take longer to get.
Typically, the rule of thumb for selecting a master had been to choose one whose tolerance is 10 percent of the part tolerance. This, combined with the gage’s performance, should provide adequate assurance of a good measurement process. It’s usually not worthwhile to buy more accuracy than this “ten to one” rule: it costs more, it doesn’t improve the accuracy, and the master will lose calibration faster. On the other hand, when manufacturing to extremely tight tolerances, one might need a ratio of 4:1 or even 3:1 between gage and standard simply because the master can not be manufactured and inspected using a 10:1 rule.
Take a taper master, for example. Say the angle tolerance is 0.001” over a 12-inch longer taper. Usually a gage or master is not made 12” long. Rather, it may be 1’ long. At this length the same tolerance now becomes 83μ”. Using the 10:1 rule, the master would have to be 8.3μ”. Unfortunately, this gage would be virtually impossible to manufacture or even measure.
But there are alternatives that can allow these tolerances to be measured and can reduce the cost of your masters. Masters can be certified to their class (the XXX, XX, X etc.) or they can be certified to their size. What this means is that you may have the tolerance that requires a class XXX master ring. However, a suitable replacement might be a XX ring certified to size. What you will get with this ring is a Certificate that documents the ring’s size at various locations and the calibration lab’s measurement uncertainty.
Now you know that the ring met the XX class and you know the exact size of the ring. You can use this information to your benefit. When setting the gage to its reference (usually zero), set it to the actual master size. In effect, you are getting XXX performance from you XX ring. You’ve saved some money and probably sped up the delivery of your gage.
Wouldn’t this be great if this worked for engagement diamonds also? That zirconium looks awfully good!


