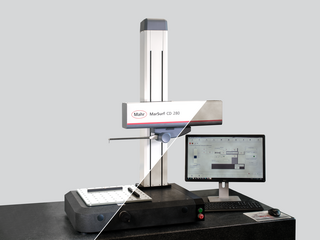
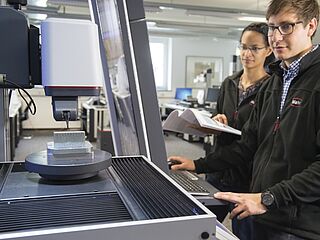
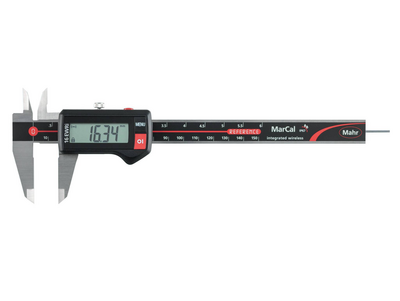
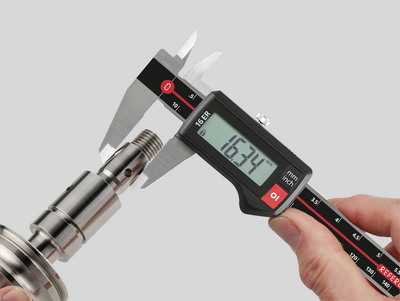
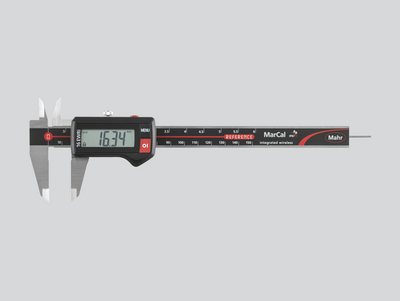
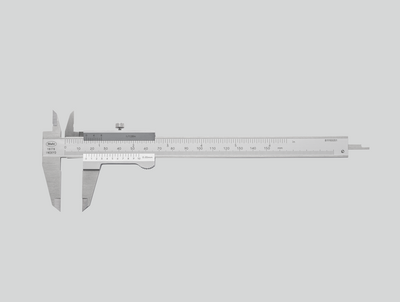
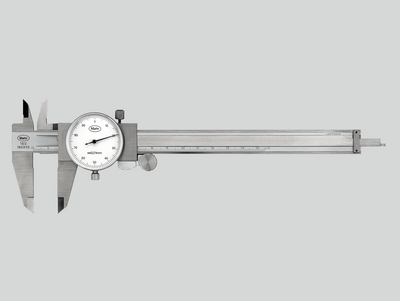
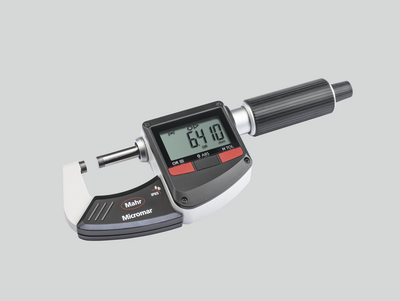
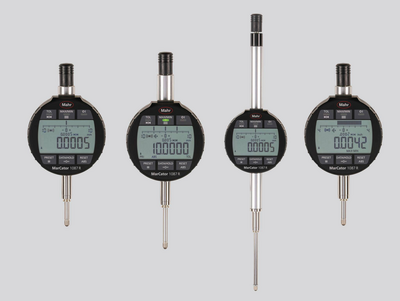
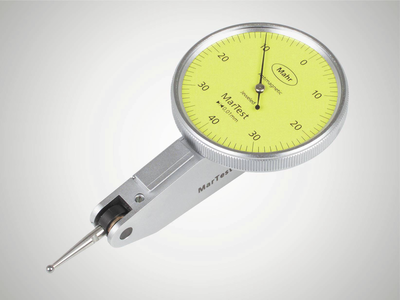
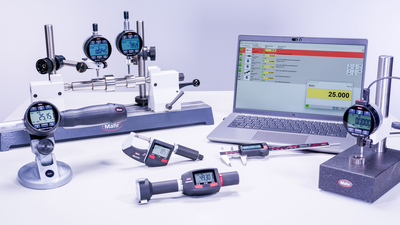
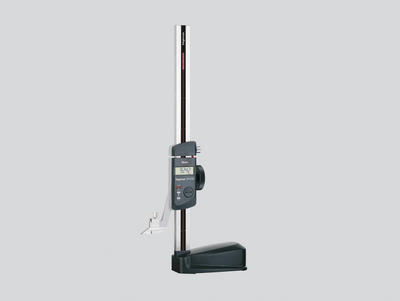
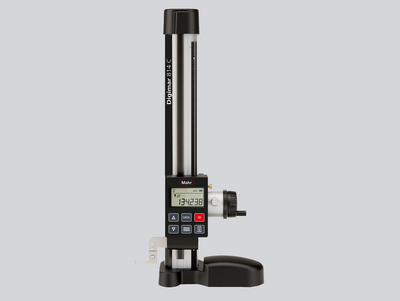
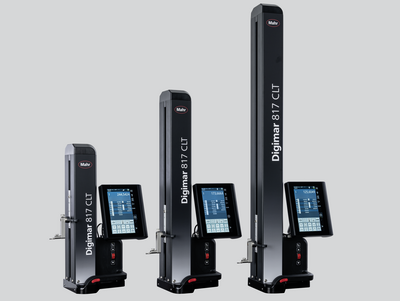
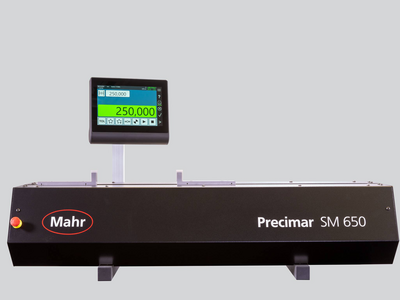
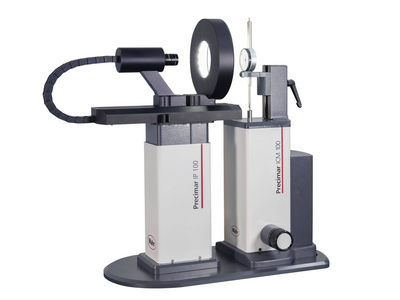
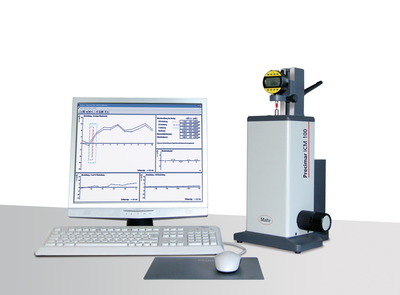
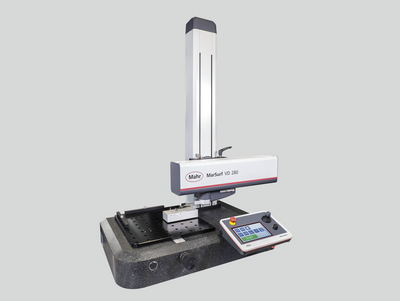
The first step in the manufacturing process is to lay out a piece by transferring a design or pattern to a workpiece. This is performed in almost all small shops, large manufacturing plants, and even by home hobbyists. The process may be used to begin a prototype piece or an emergency replacement part. The common tools for layout work include a surface plate, a surface gage with scriber or dial indicator, and a long-range height gage.
As with most inspection, the surface plate provides a reference plane for the part and the height gage. Height gages are used to set and mark a certain height on the workpiece, or to measure the piece after it has been machined.
The height gage is a conceptual extension of the handheld caliper gage, except that it rests on a heavy base that keeps the scale square to the surface. Height gages have a beveled pointer on the moveable jaw that can be used to mark or scribe the part. Or by setting the reference height on the base surface, the scribing point can be used to find a height characteristic on a part and display it on the gage's readout.
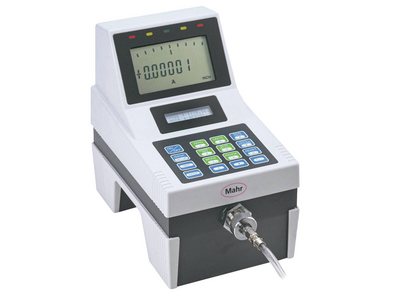
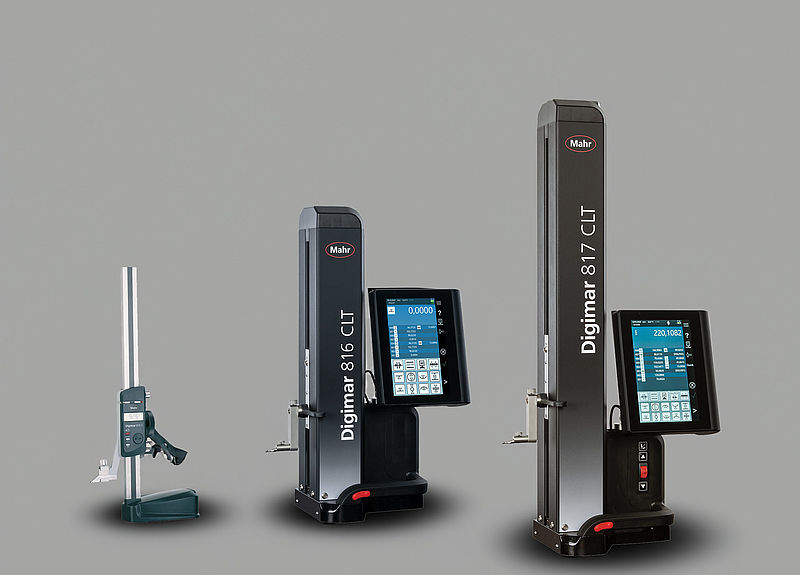
There are three types of basic height gages. The classic vernier height gage has been around for 100 years or so and is still used by those true machinists who feel really comfortable counting the grads to make sure their readings are correct. The circular scale height gage uses a dial indicator to set the measurement height. And the most recent addition is the digital height gage that allows for direct reading of the height or even setting zero locations at places other than the reference surface plate.
Height gages are available in sizes up to 72 inches and usually incorporate a rapid hand crank or motor to help speed positioning, and a scribing attachment that allows for positioning to 0.001mm/ 0.0005". There are also models that incorporate a quick-adjusting release that allows the moveable scribing point to move directly to the desired reading and then zero-in using a built-in, fine adjustment mechanism.
Using a height gage is simple. Place the workpiece on the surface plate, then bring the gage's scribing pointer to the reference surface. Visually ensure that the pointer is flush to the surface plate by looking for light coming through were the contact touches the surface plate. Also look for warped or angled conditions in the scribing point as they will add a bias to your reading.
Once you have verified the contact is flush with the table, zero the height gage. With the new digital versions, this is an easy, single key stroke function. Now you're ready to begin scribing your workpiece. Bring the sensitive contact up to the designated height and lock the jaw into position. With a small workpiece, it is usually easier to bring the part to the gage, but if the gage is lighter, bring it to the workpiece. The pointer can then be used to mark the desired height onto the part.
If the part needs to be inspected, set the gage's reference to zero as described above and then bring the gage to the part and gently touch the scribing point to the position to be measured. With an electronic height gage, it is easier to measure point to point dimensions by zeroing at each starting point and directly reading the change in height at various locations.
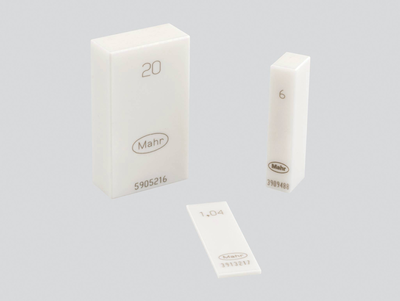
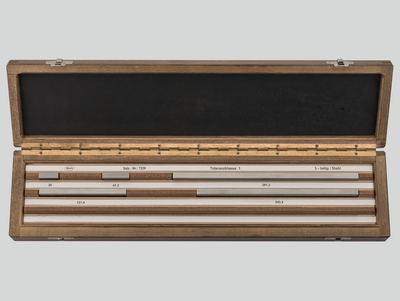
The accuracy of height gages can be checked in many ways but is most done with stacks of gage blocks on a granite reference surface. However, as with so many other shops floor gages, dirt is the biggest problem, so make sure the surface plate is clean, recently certified, and free of scratches or chips.


