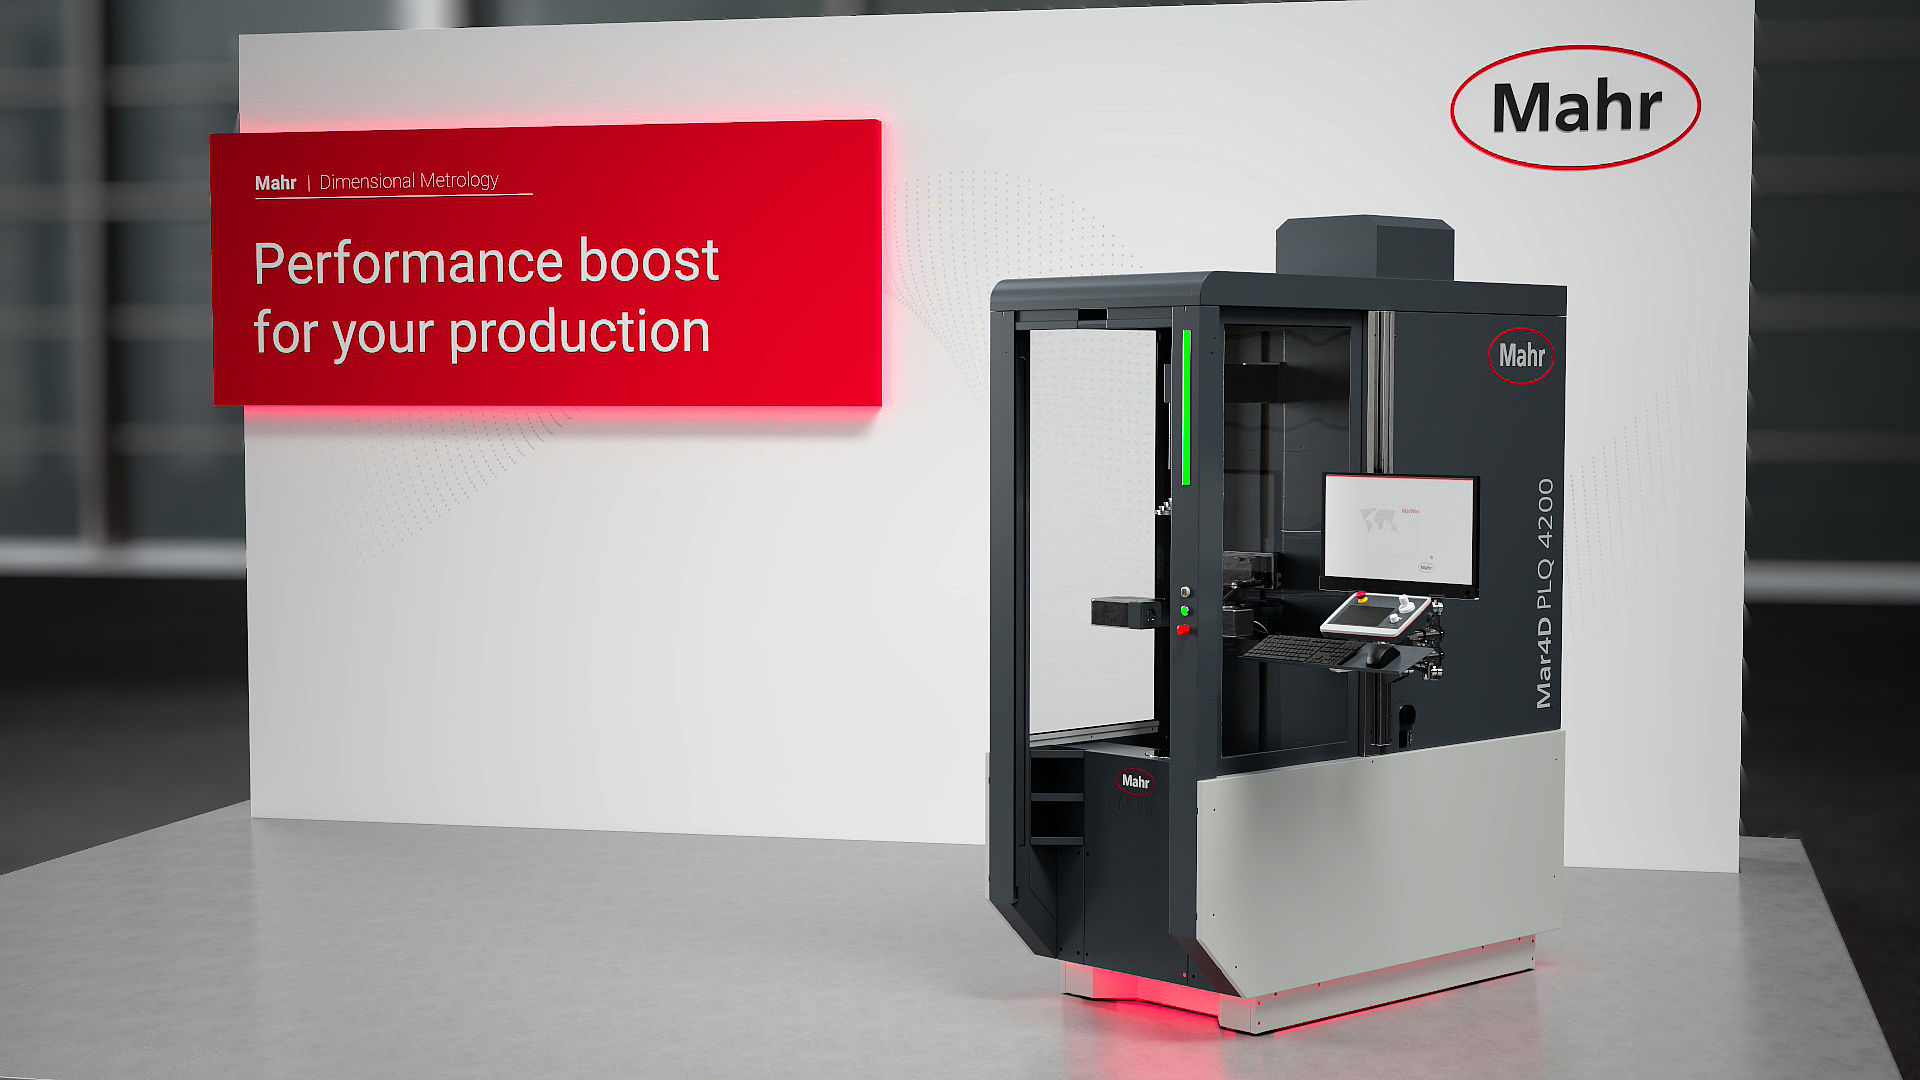

Exactly the right cylinder coordinate measuring machine for production
- Speed: reduction of measuring times through new control architecture and proven, fast measuring technology
- Productivity: multisensor technology and workpiece flexibility
- Precision: integrated environmental controls and reduced user intervention
- Ease of use: unique ergonomics and safety concept
Make an appointment with us to get to know the new Mar4D PLQ 4200!
Metrology for flexibility and speed
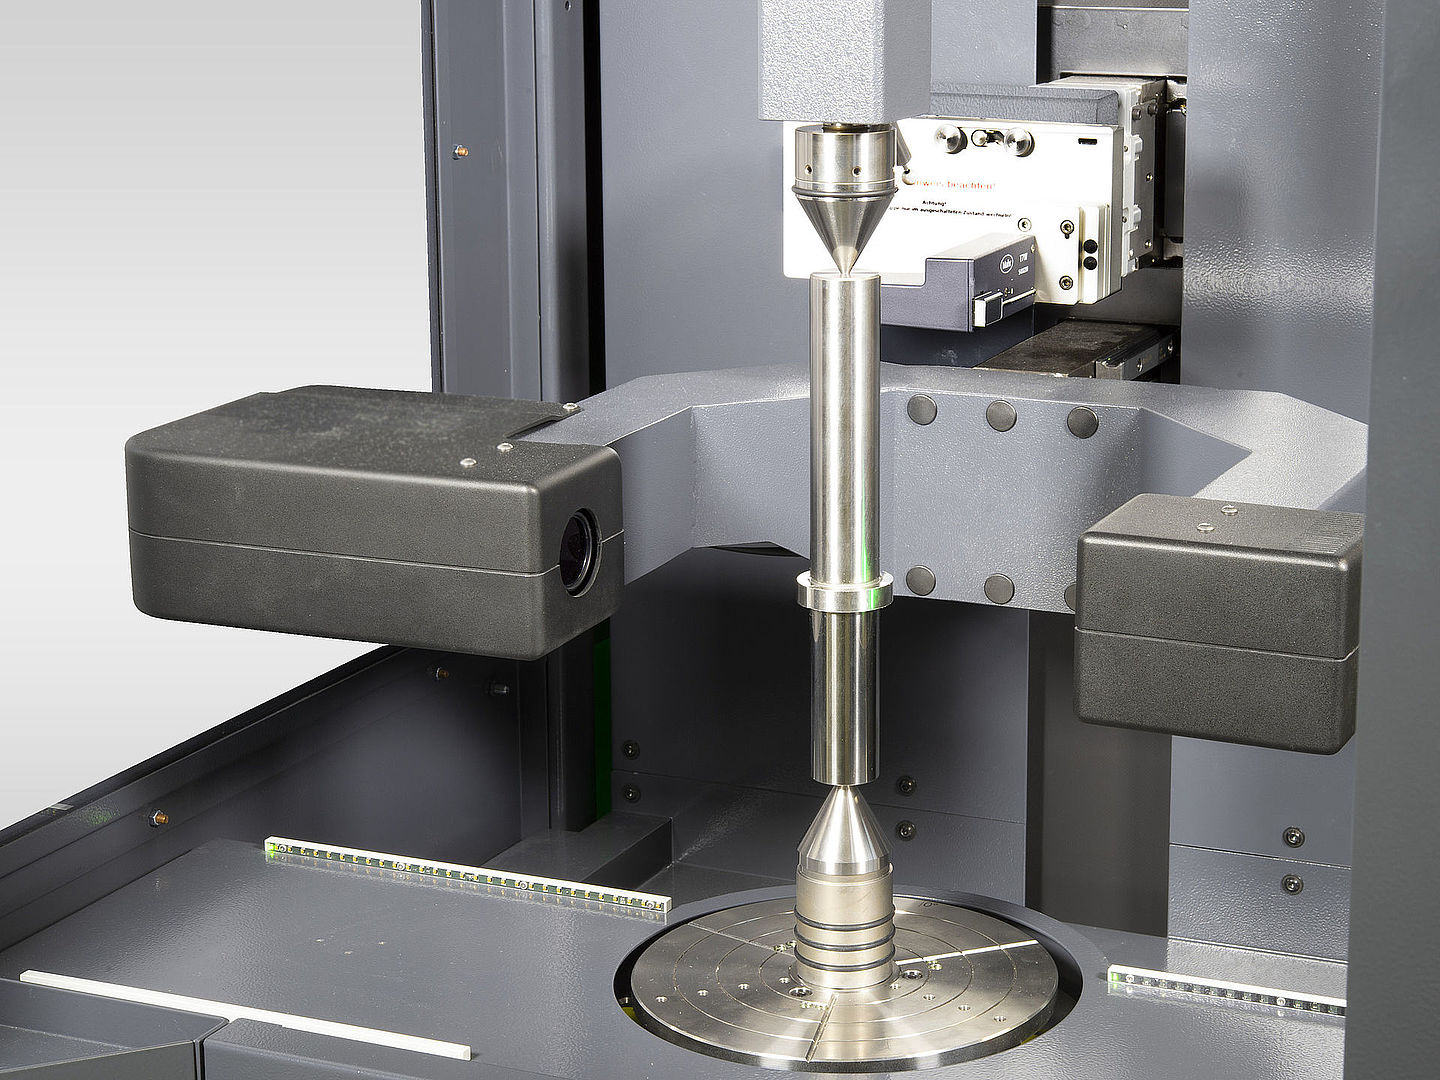
Thanks to multisensor technology, the Mar4D PLQ 4200 works extremely flexibly, quickly and precisely. The modern, high-resolution matrix camera acquires the measurement data optically at top speed. The tactile probes – Mahr T7W for form features, Renishaw SP25 for 3D features – also impress with their speed.

Productivity through workpiece flexibility
The Mar4D PLQ 4200 inspects rotationally symmetrical workpieces with diameters of up to 200 mm, lengths of up to 1,000 mm and weights of up to 50 kg. As a result, users increase their measuring capacities while waiting times are reduced. In addition, scrap is significantly reduced as several integrated environmental controls ensure consistently reliable measuring conditions.
Focus on precision
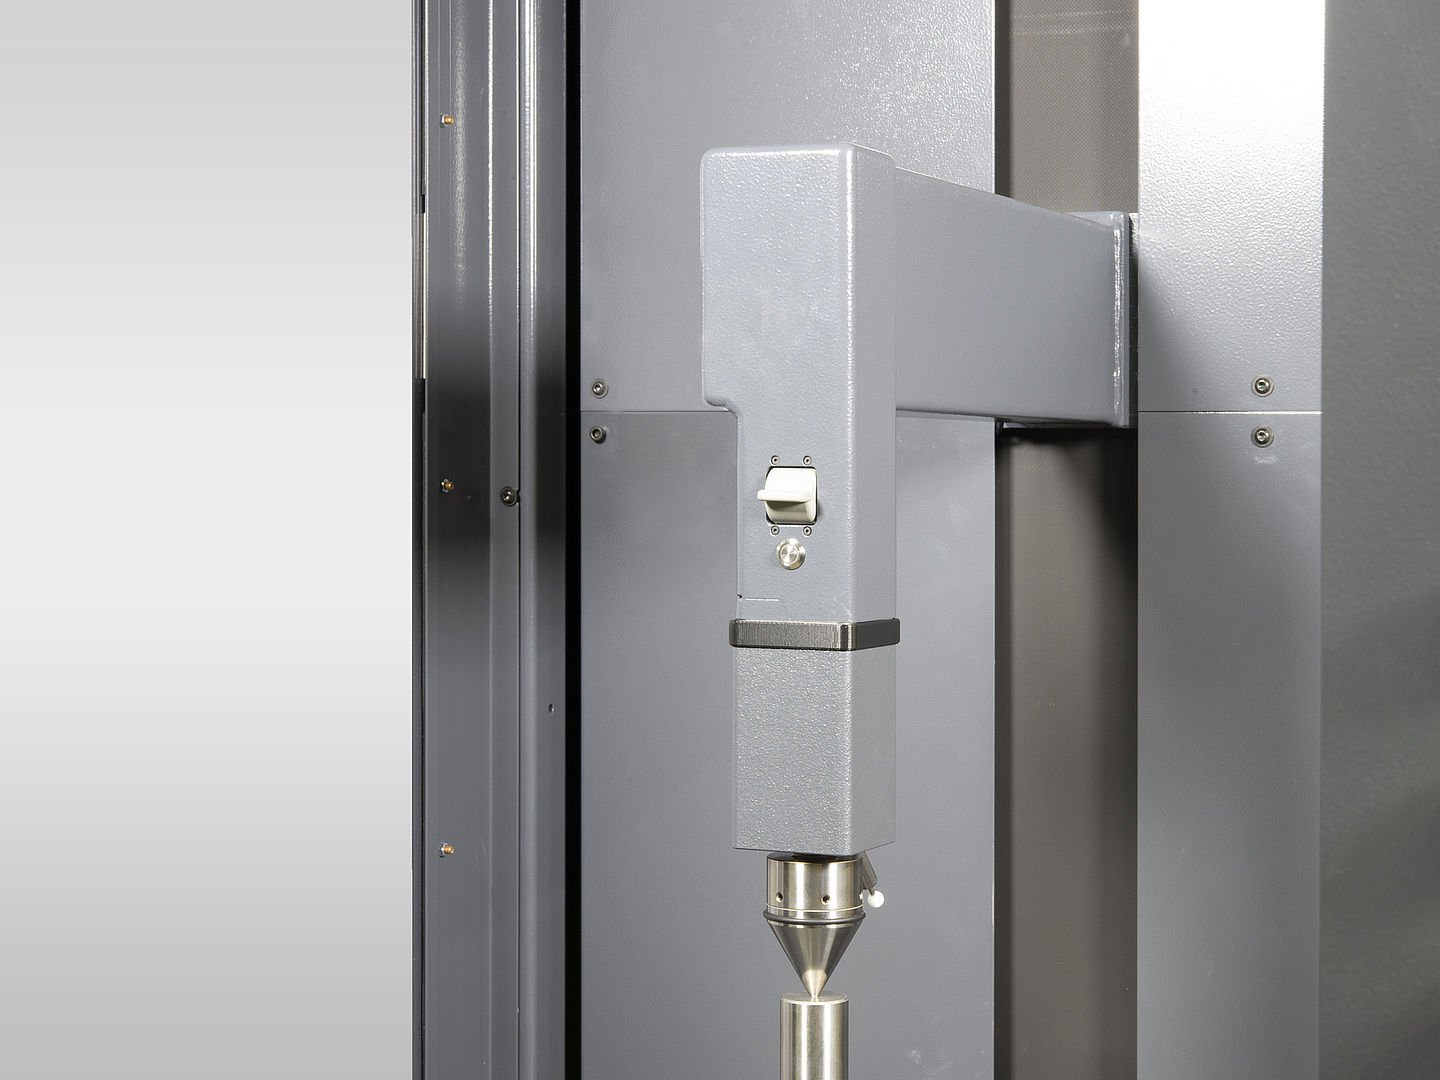
The Mar4D PLQ 4200 ensures precise measurement results and their reliable repeatability. For example, integrated environmental controls for temperature and vibration in real time ensure that external influences on the measurement results are reduced or even completely eliminated. In addition, a motorized tailstock with configurable clamping force monitoring minimizes operator intervention and thus influences, and in turn increases accuracy.

User-friendly operation
Ergonomics and safety are the focus of the Mar4D PLQ 4200. For example, a generous machine layout ensures convenient loading and unloading, even by smaller persons. Many processes are automated, e.g. clamping, aligning, measuring. In addition, the Mar4D PLQ 4200 is robot-ready. Interior monitoring protects the system and prevents service calls. A light grid in front of the loading chamber and LEDs that indicate the status of the measurement ensure the safety of person and machine.
Even more measuring options with centering and tilting table
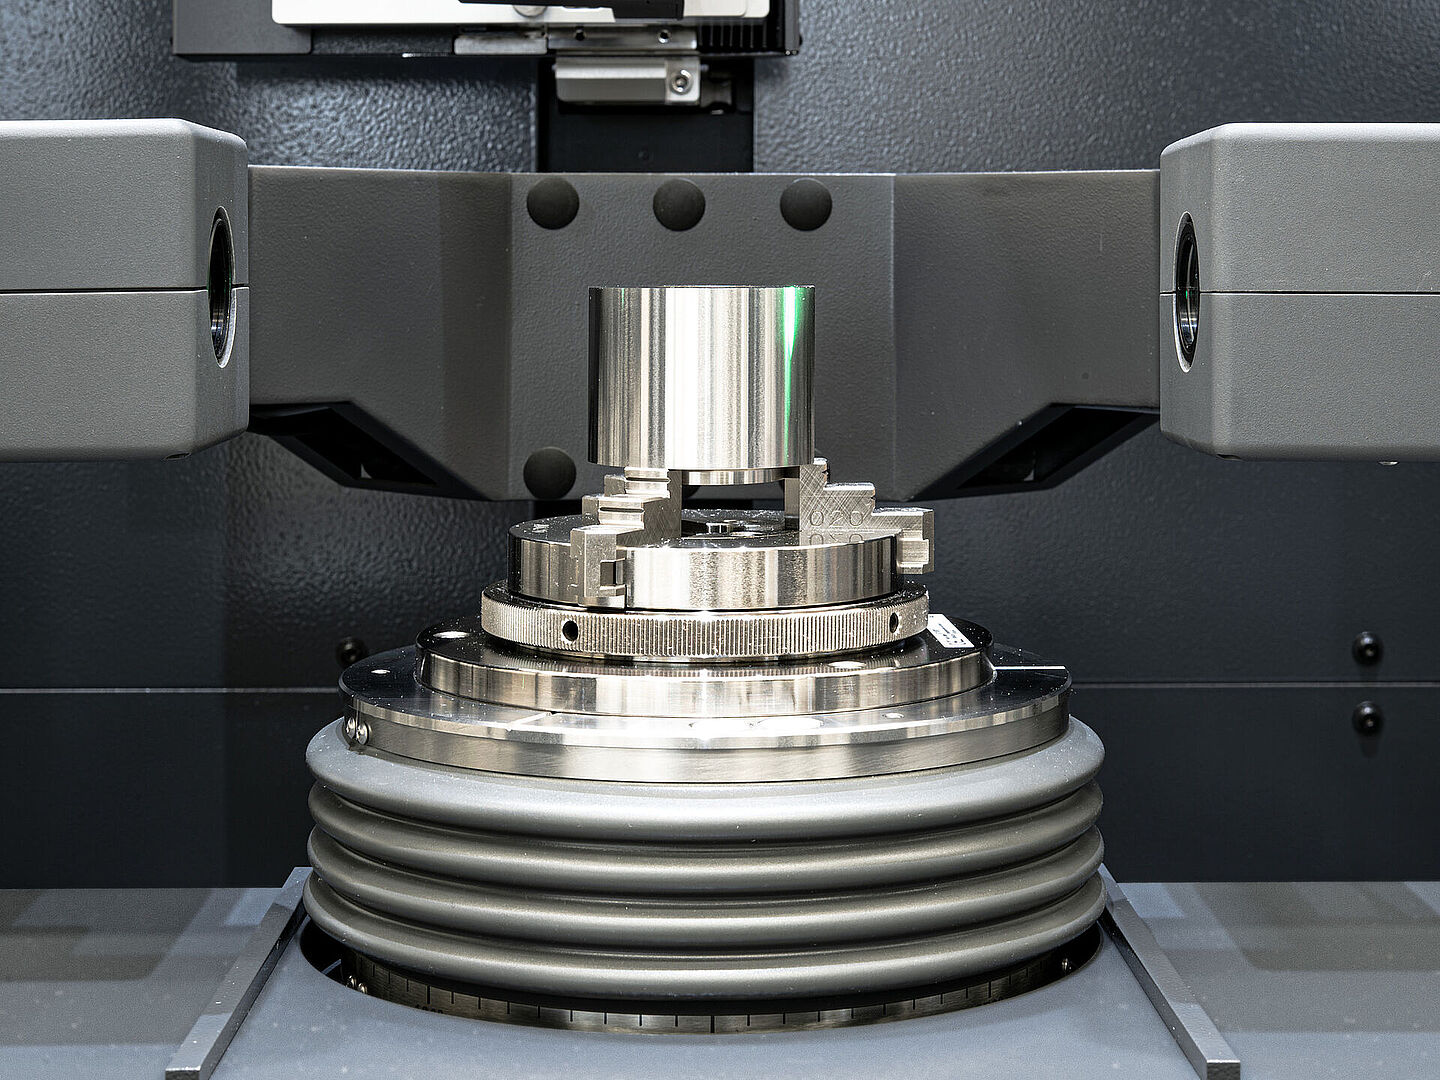
One variant is the Mar4D PLQ 4200-T4 with a specially developed, fully automatic centering and tilting table that stands for precision and speed:
- It aligns workpieces that are not manufactured and measured between centers in the shortest possible time and with micrometer precision.
- This method is far superior to the purely mathematical correction of alignment errors. For example, correcting an alignment error of 4 mm to 1 µm takes only 30 seconds.

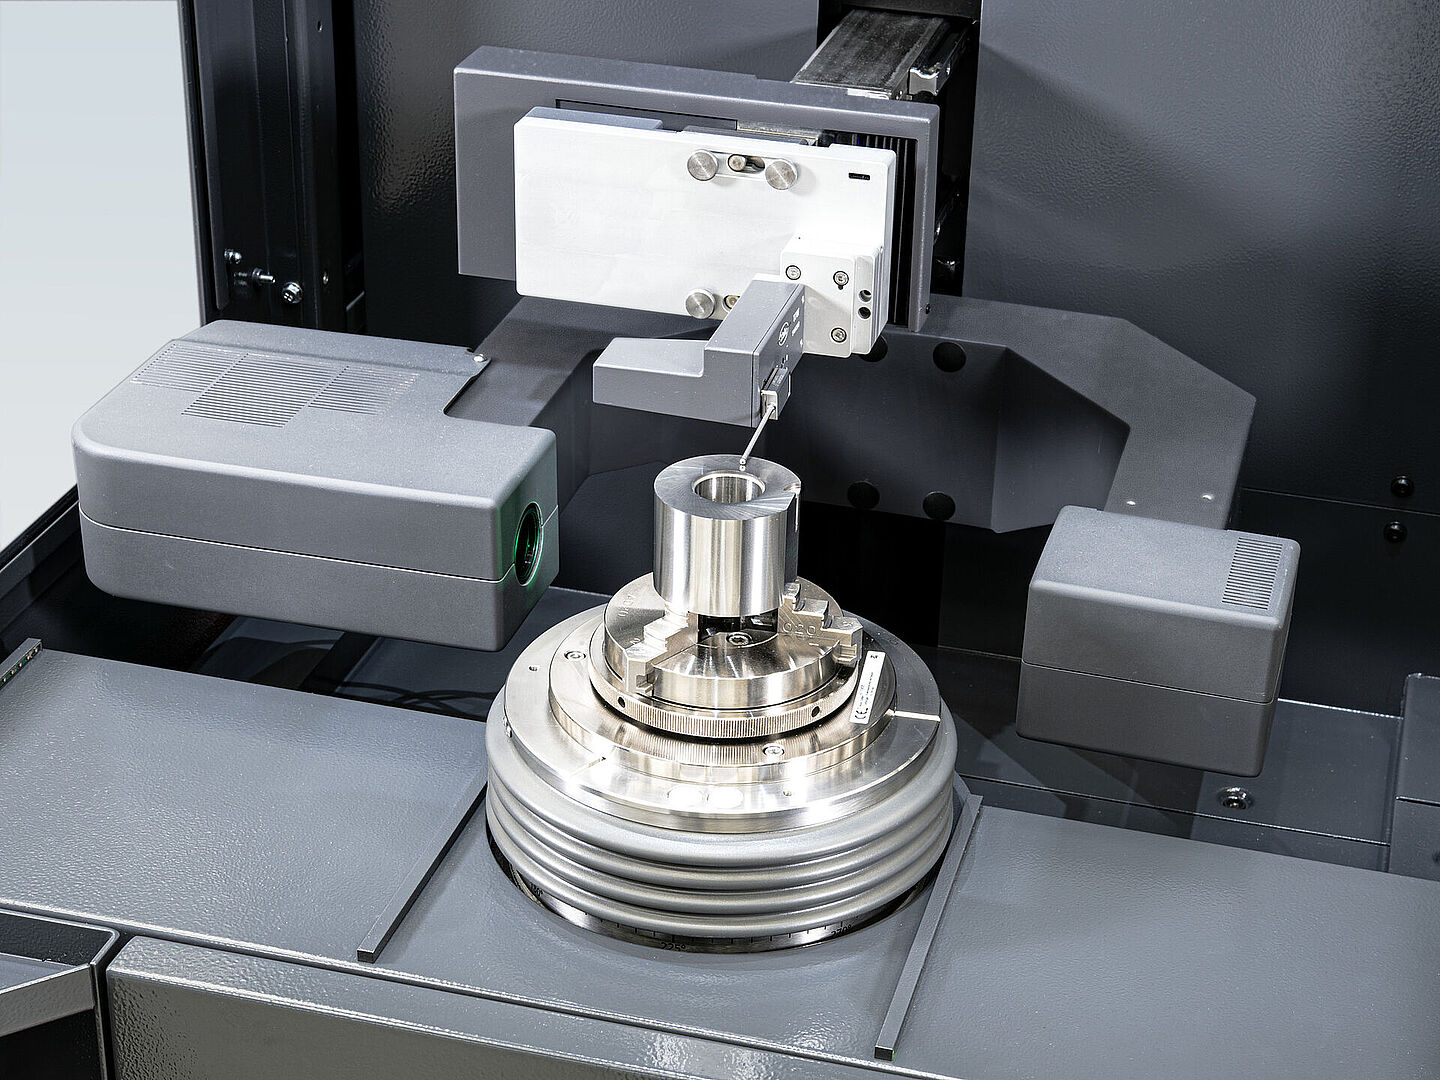
Centering and tilting table: internal measurements
Thanks to the combination of centering and tilting table, a three-jaw chuck, for example, and the T7W tactile form probing system, internal measurements are possible.
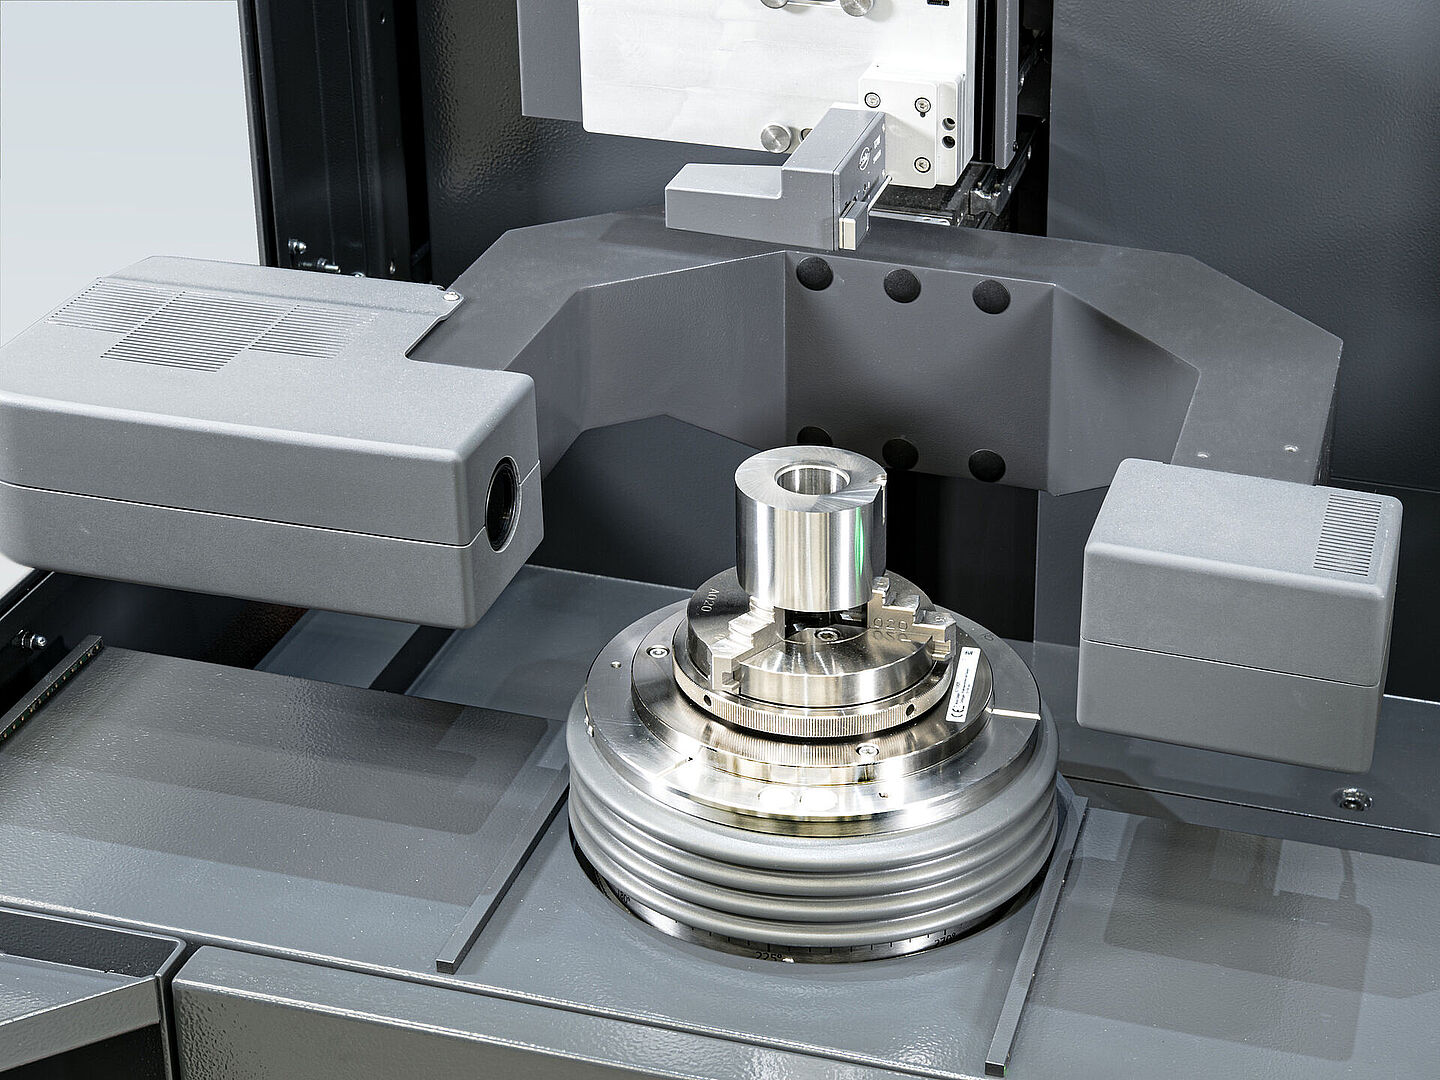
Centering and tilting table: shape measurements
Using the centering and tilting table, the Mar4D PLQ-T4 can check the same features as a classic form tester, for example axial runout.
Centering and tilting table: optical measurements
For optical measurements, the centering and tilting table ensures that the matrix camera can capture the edges of the workpiece much more accurately than with purely mathematical alignment.
