
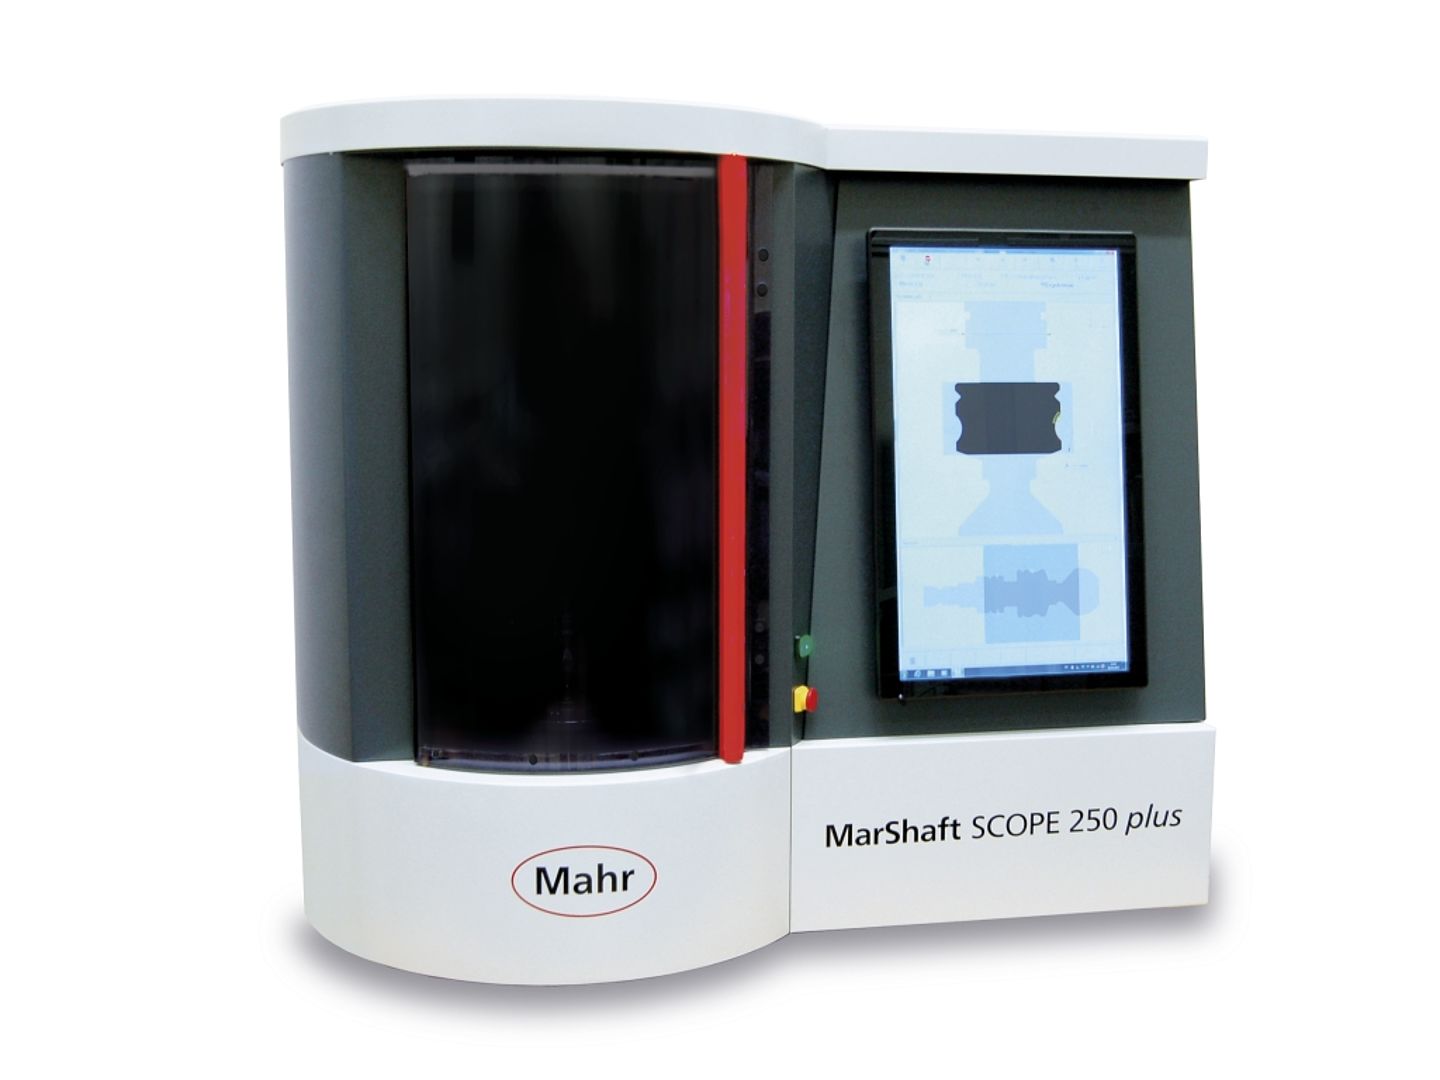
Universal, fully automatic optical shaft measuring system
The MarShaft SCOPE 250 is our compact system with many advantages:
- High-resolution CMOS matrix camera enables live image on the display
- High accuracy for diameter and length measurement
- Extremely short measuring times due to high measuring speeds up to 200 mm/s
MarShaft SCOPE 600 plus 3D offers even more by combining optical and tactile measuring technology.
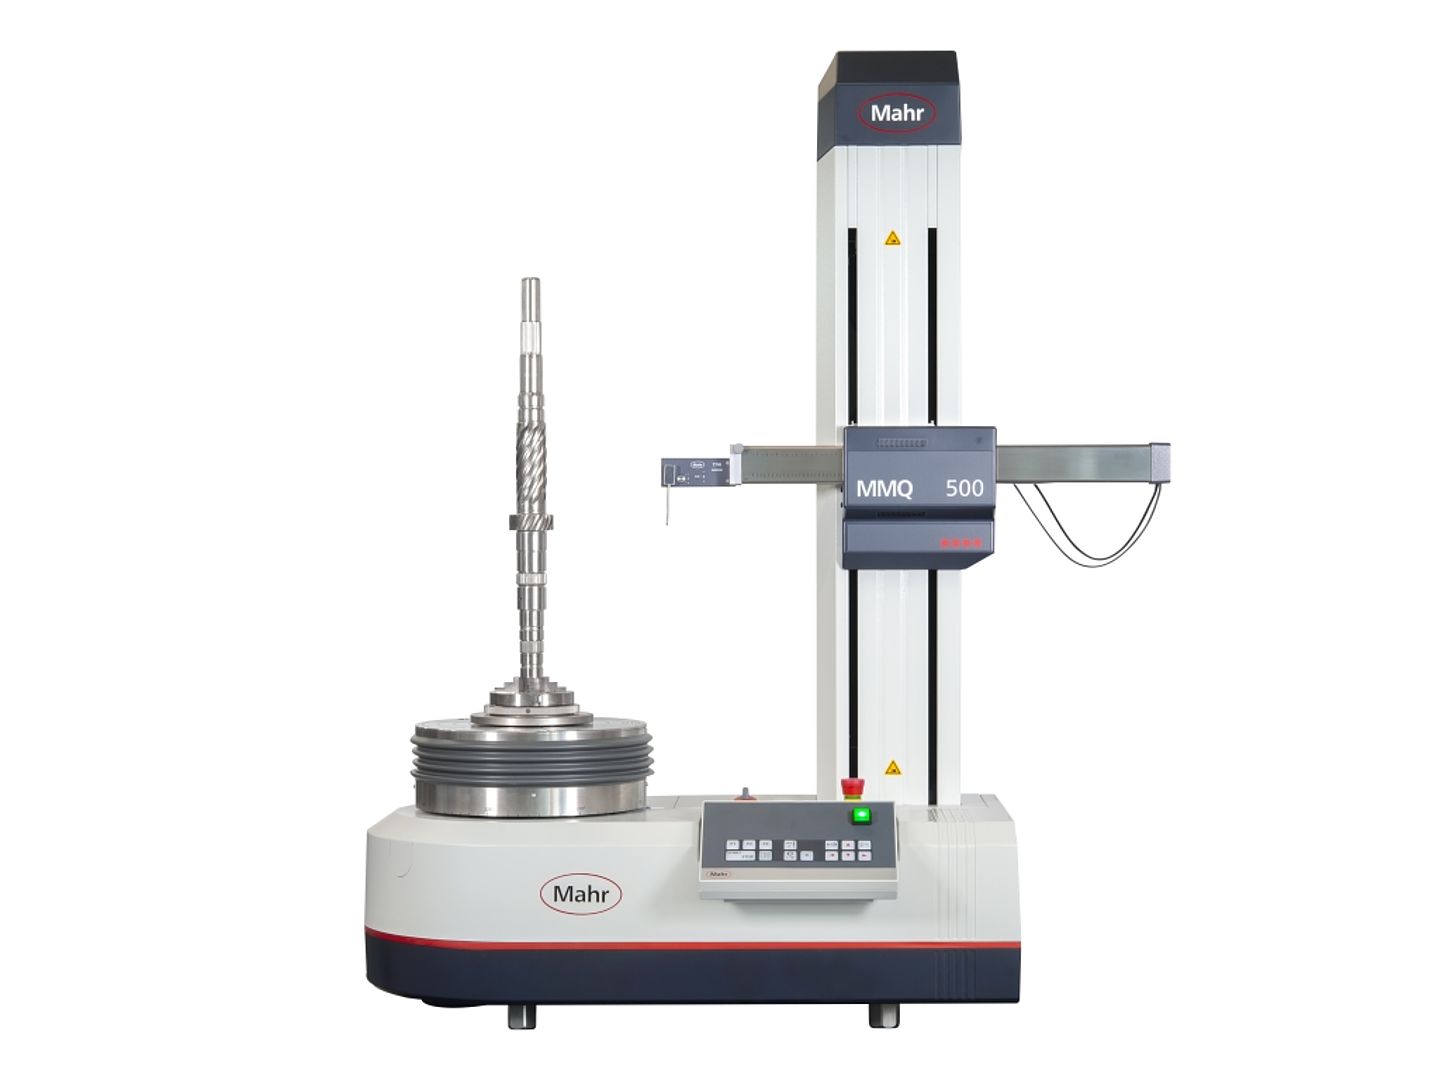
Maximum flexibility and highest precision for your form measurement
- Detection of form, position, roughness, contour and lead in only one measuring sequence
- Universally applicable for workpieces from a few mm in size up to 80 kg
- Highest axis accuracy even with decreasing tolerances
- Reliable repeatability even with difficult measuring tasks
- Fully automatic alignment of workpieces by centering and tilting table
- Shorter floor-to-floor time and thus higher productivity
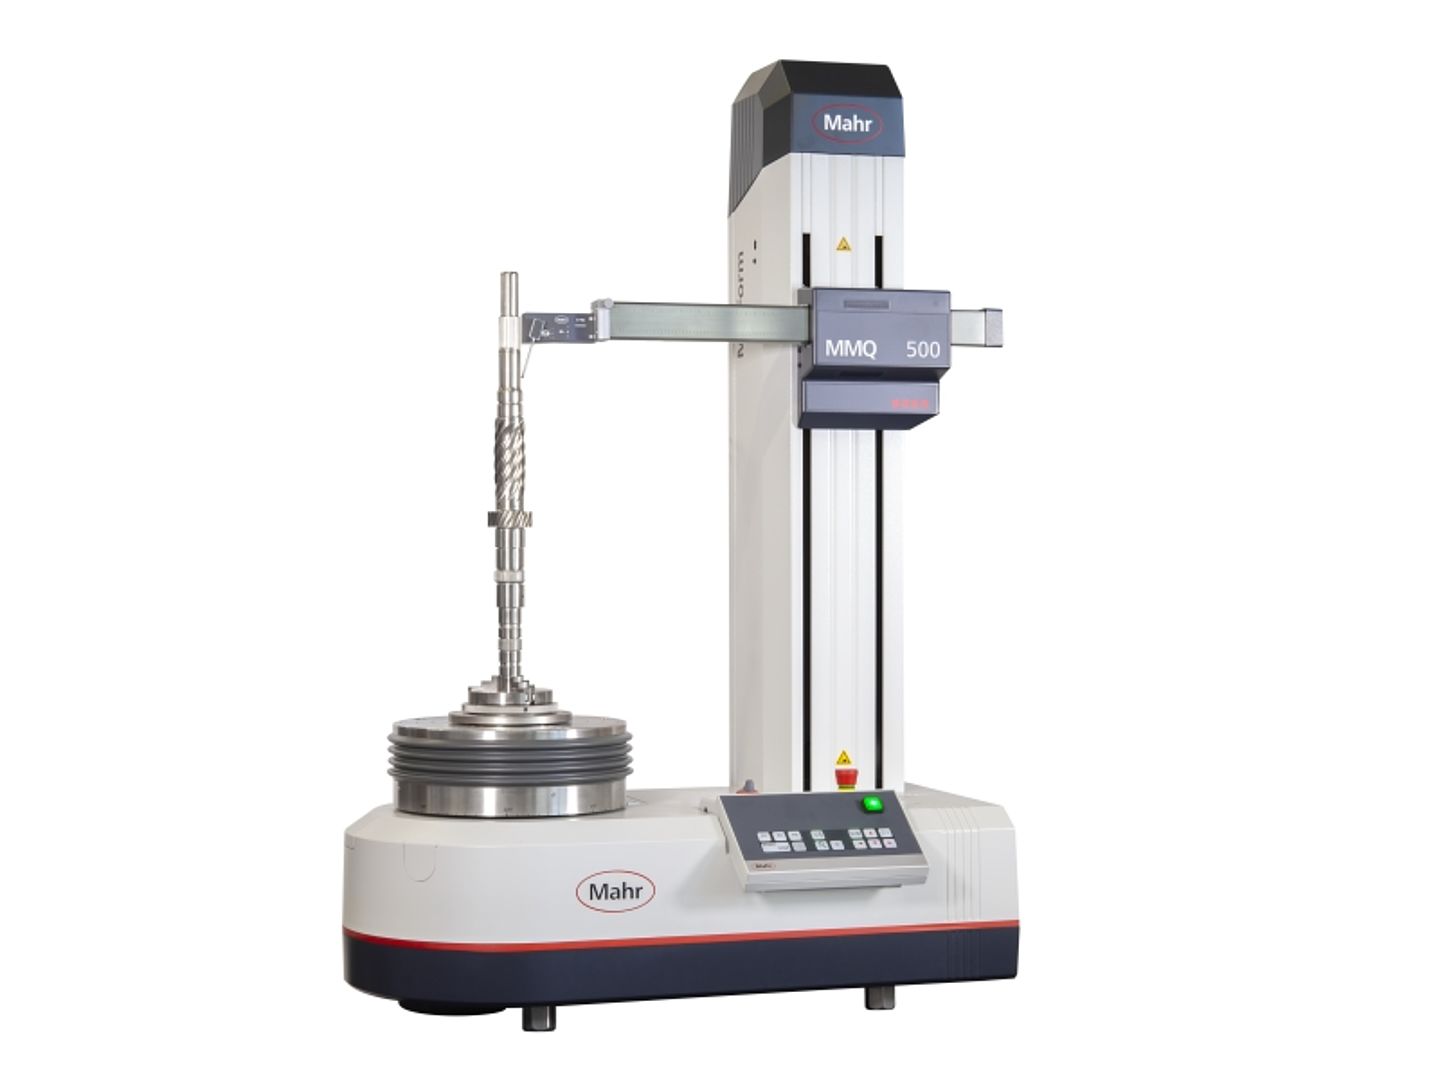
Automated operation for more productivity
The MarForm MMQ 500 has unique features that make it particularly efficient. This gives it a clear productivity advantage over comparable machines on the market. Thanks to the flexible machine layout, you can choose from eight versions the customized solution that best suits your individual form measurement requirements.
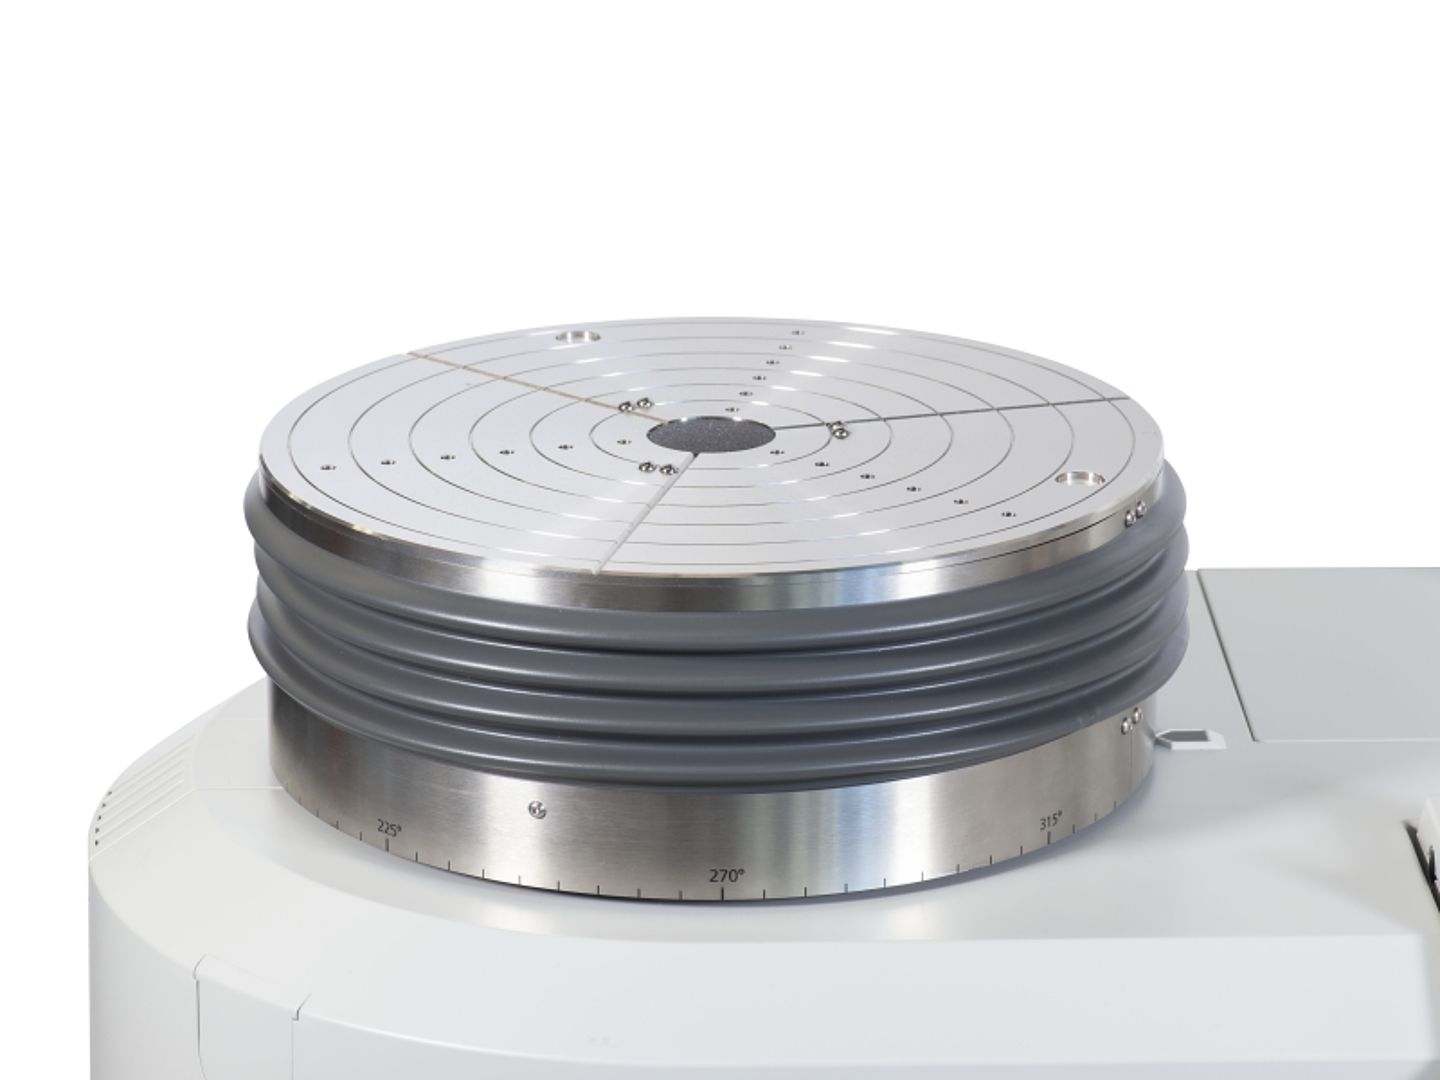
Fully automatic centering and tilting table
Mahr has newly developed the centering and tilting table with a diameter of 300 millimeters. Benefit from its advantages:
- Fully automatic operation
- Fast and at the same time optimal alignment of the workpiece to be inspected
- No manual adjustment – no alignment errors
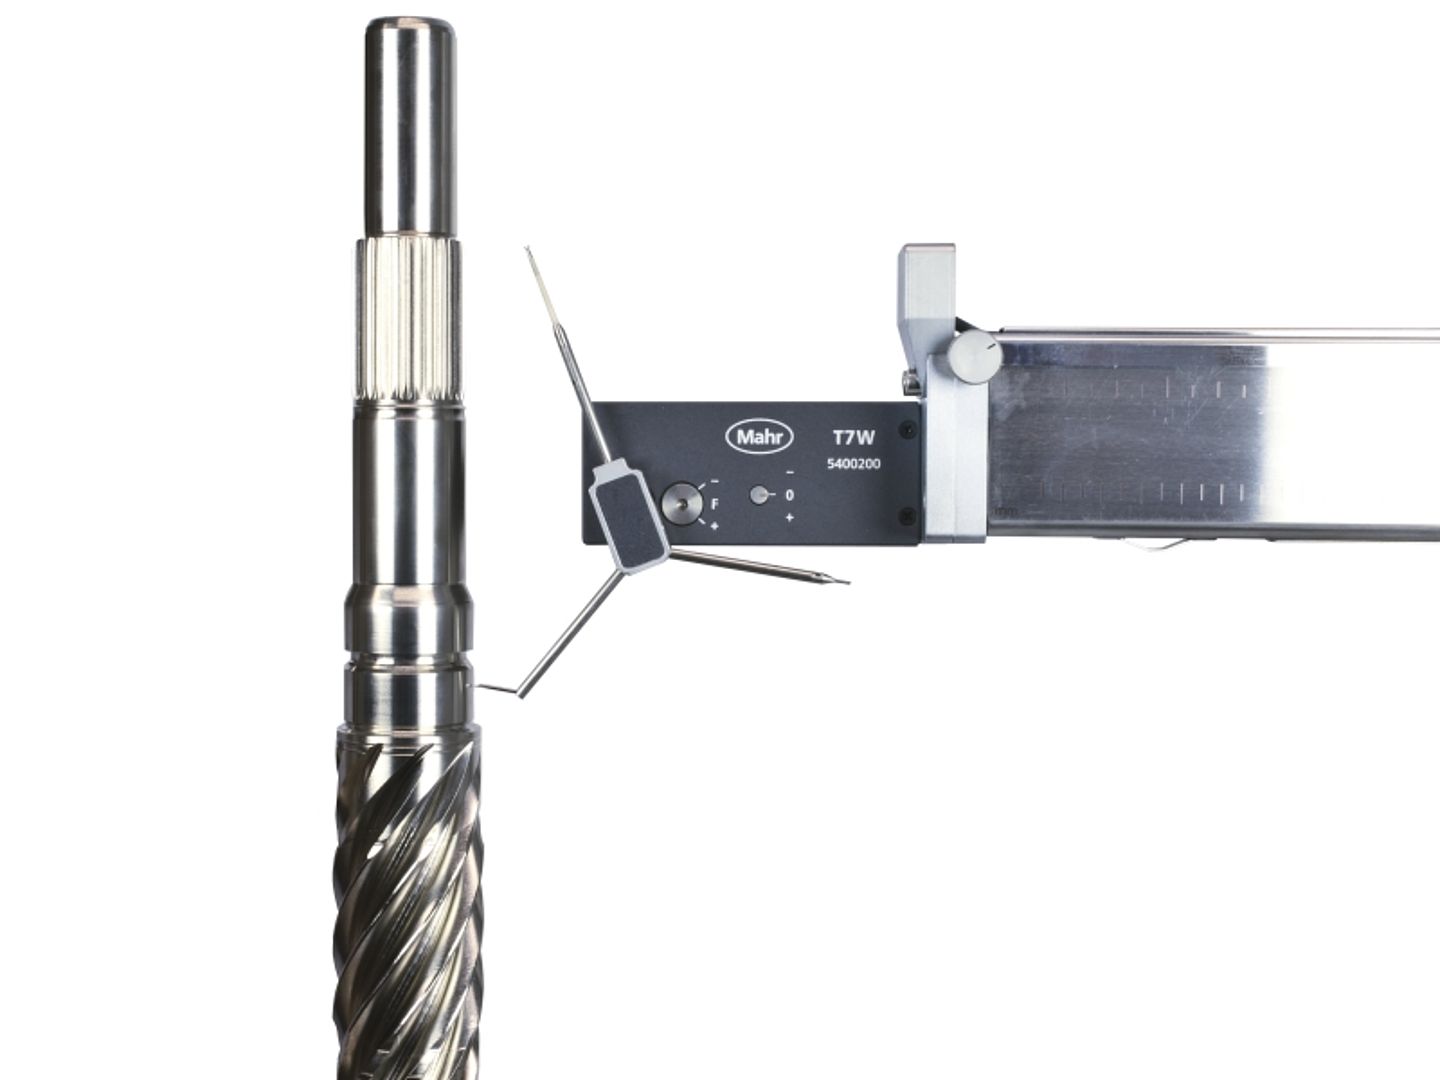
Fully automatic probe arm unit
The special probe arm unit also qualifies the MarForm MMQ 500 form measuring machine for automated operation:
- Up to four probe arms integrated
- Software-controlled changeover without operator intervention
- This saves time and ensures process reliability
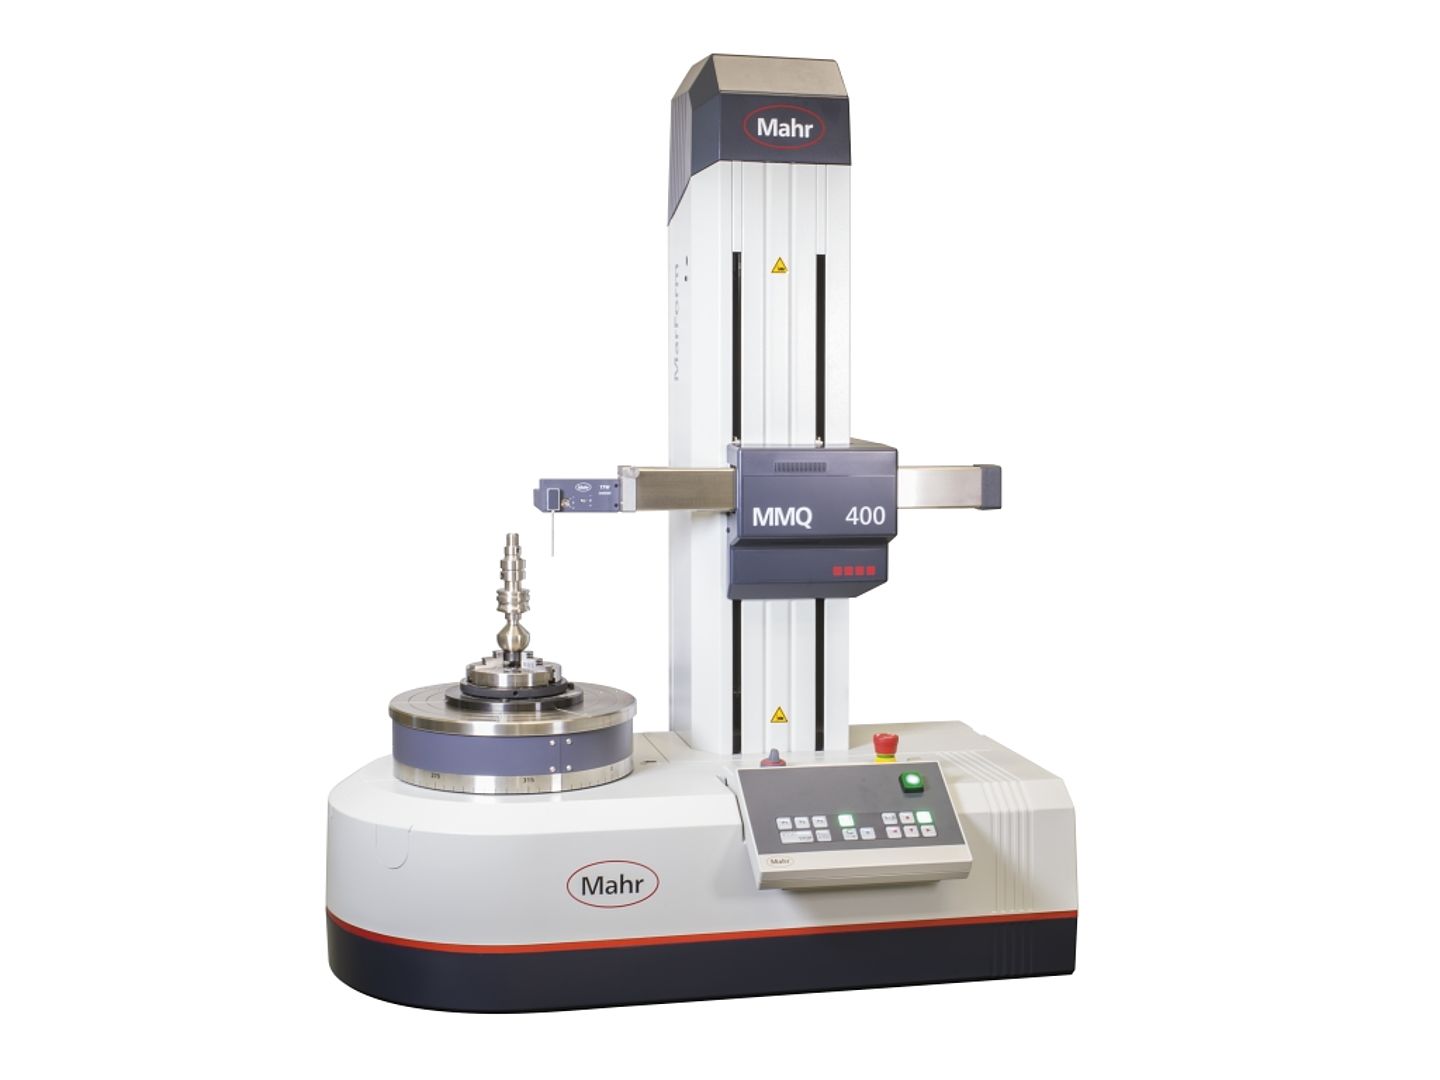
The flexible, fully automatic product family for form and position measurement
- Measuring axes with high running smoothness and precision make a wide variety of measuring tasks possible.
- MarWin software ensures advanced applications such as roughness, waviness and contour measurement.
- Mechanical bearing is up to 70 times stiffer than air bearing and thus contributes to the measuring accuracy.
- Use is possible on the shop floor or in the precision measurement room.
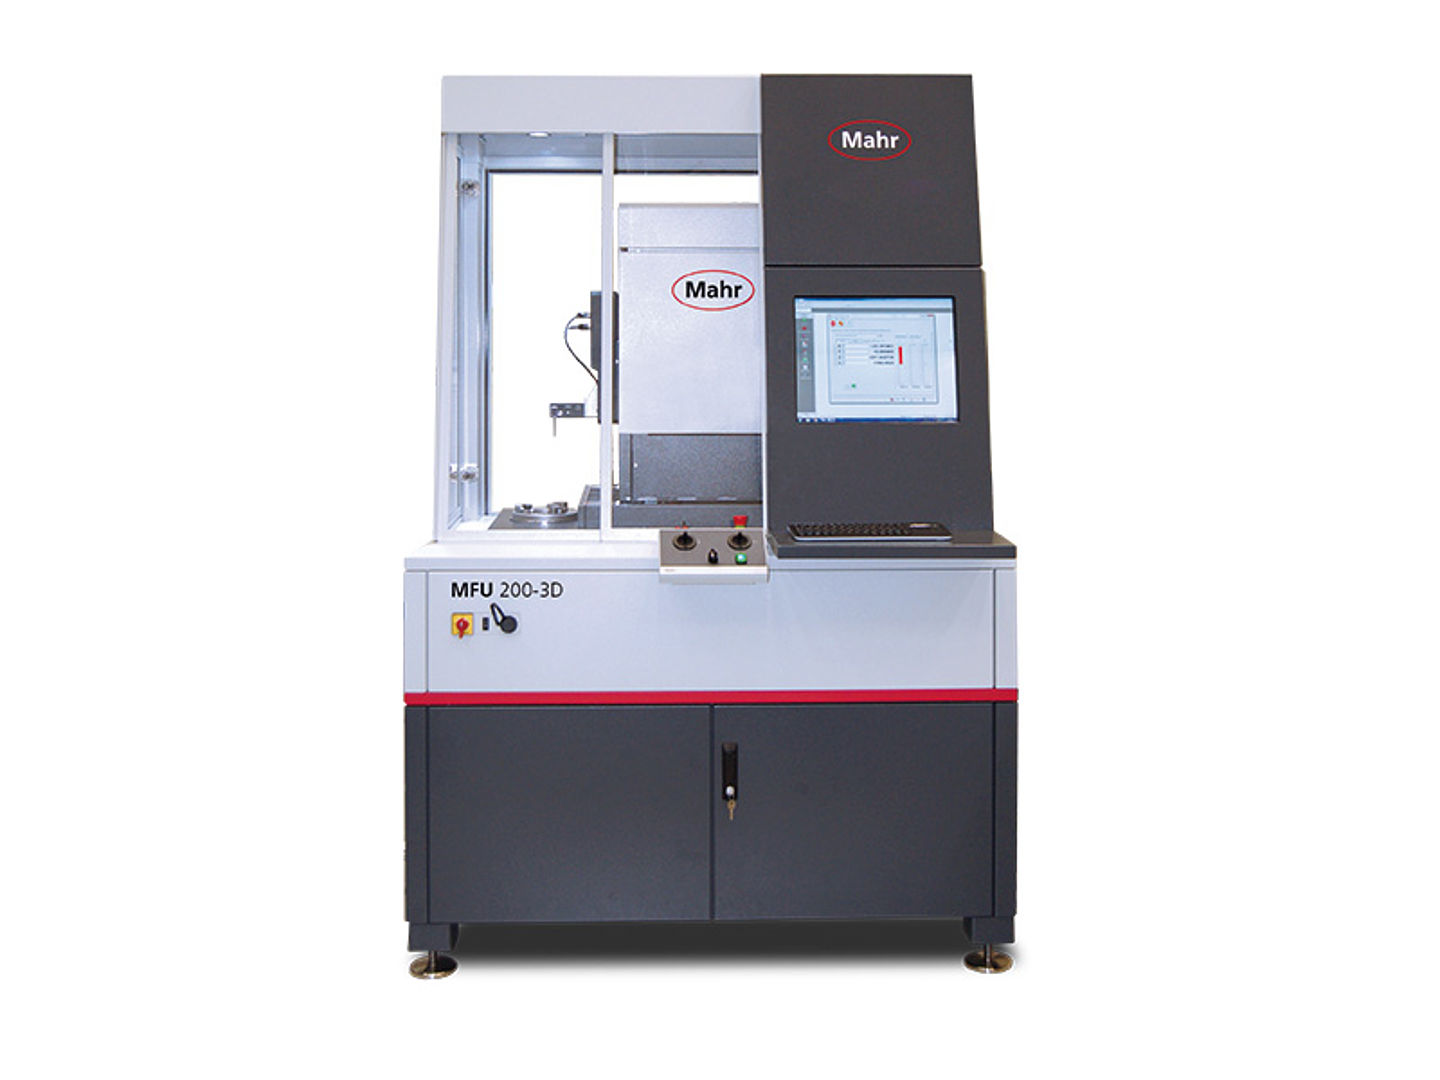
The close-to-production 3D measuring station – ultra-precise and universal
- Measure contour, roughness, offset, runout and tilt errors of optics in one clamping operation
- Especially for spheres, aspheres, cylindrical lenses and freeforms
- Automated, fast and close to production measurement in 2D and 3D
- Combination of optical and tactile probe arms, allowing the reference surface of one component to be used to determine the form and position of the other surfaces
- MarWin software platform for versatile, modularly adapted evaluation options
- New: AnyShape software package
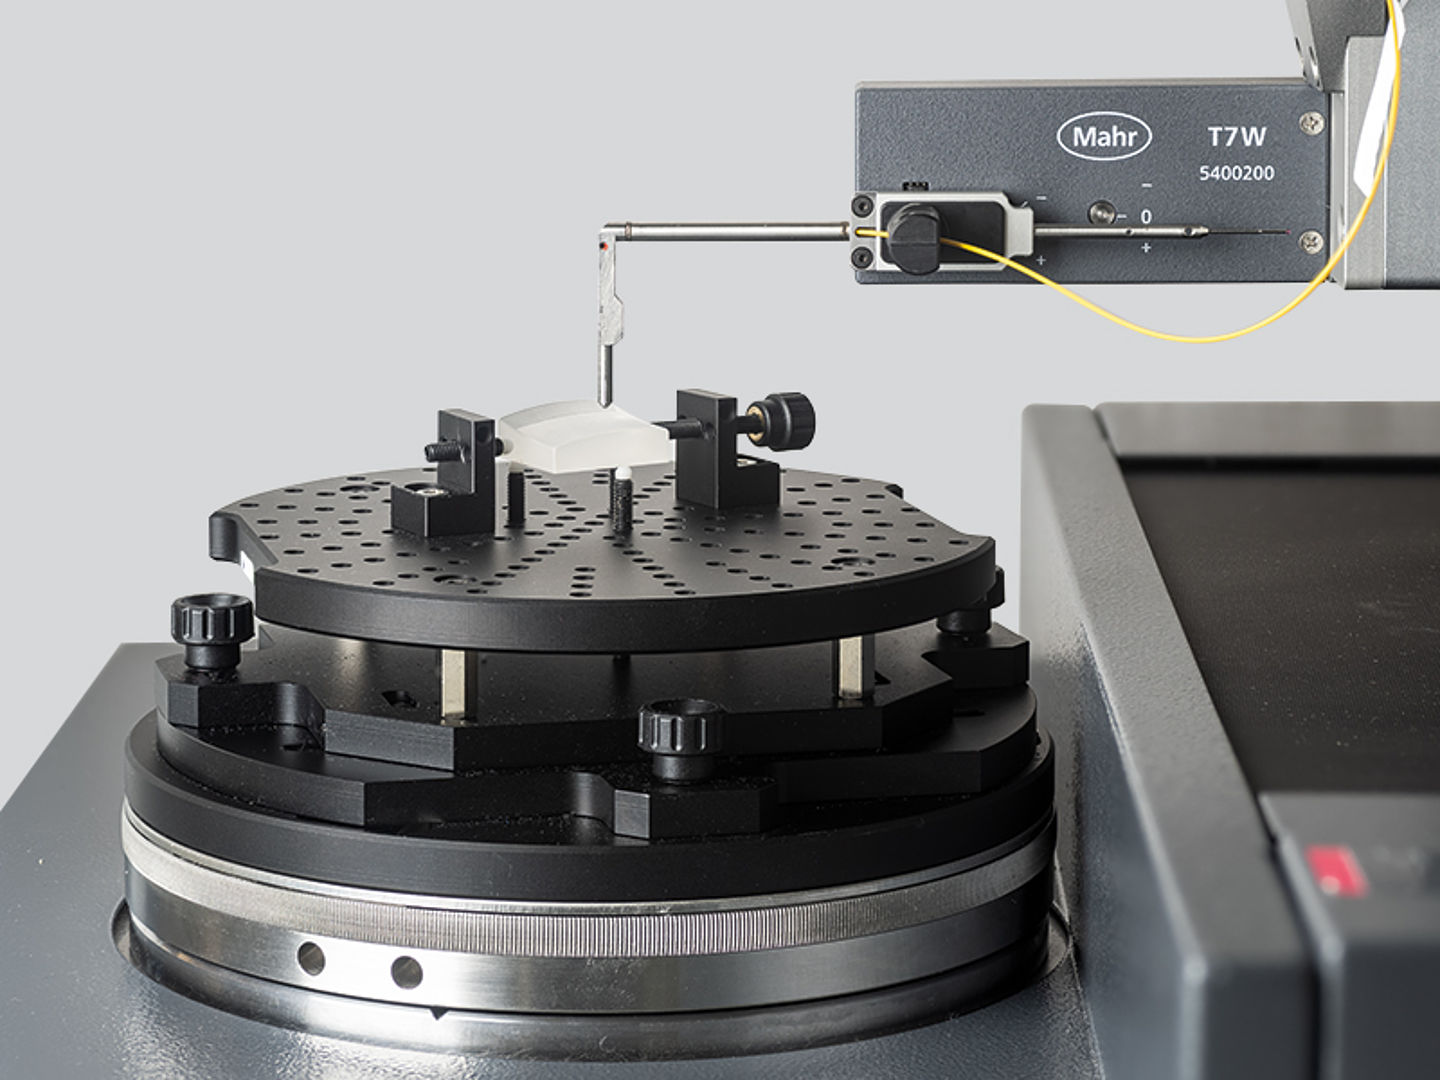
Your advantages in the production of optical components
- Increase in productivity due to minimized calibration expenditure thanks to high temperature stability
- Close proximity to production possible due to measuring cabin with attenuation
- Accuracy due to dynamic real-time compensation
- Reference system on the component itself due to combination of optical and tactile sensors
- Flexibility due to measurable lead angles of up to 45°
- Standard-compliant evaluation according to ISO 10110-5
- Universal through automation of different measuring tasks on one machine
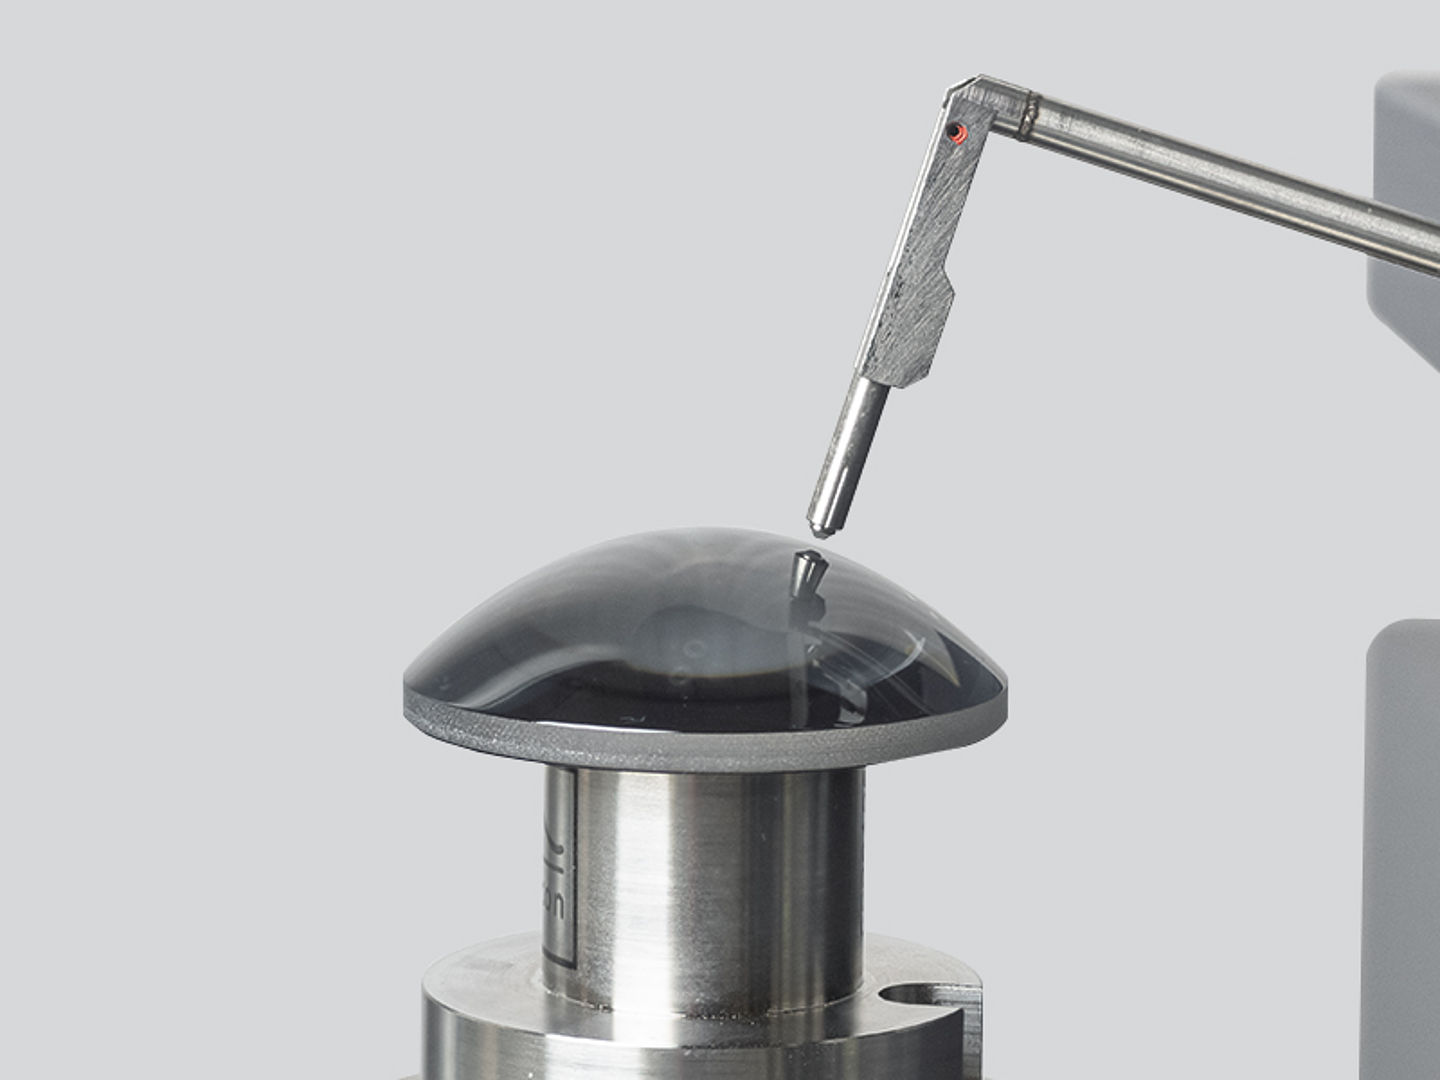
Software package Aspheric Lib for spheres, aspheres and plane surfaces
- Automated 2D and 3D measurement
- Definition of nominal geometries via software interface
- Analysis and graphical representation of surface form deviation and pitch error according to ISO 10110-5
- Reverse engineering and simulation: determination of aspherical coefficients of unknown geometries
- Profile export for correction of processing machines in file formats *.mod, *.txt, *.ascii, *.dat, *.xyz, *.zygo.dat, *.x3p
- Import of geometry data from the processing machine
- Automatic report generation with characteristic values of ISO 10110-5
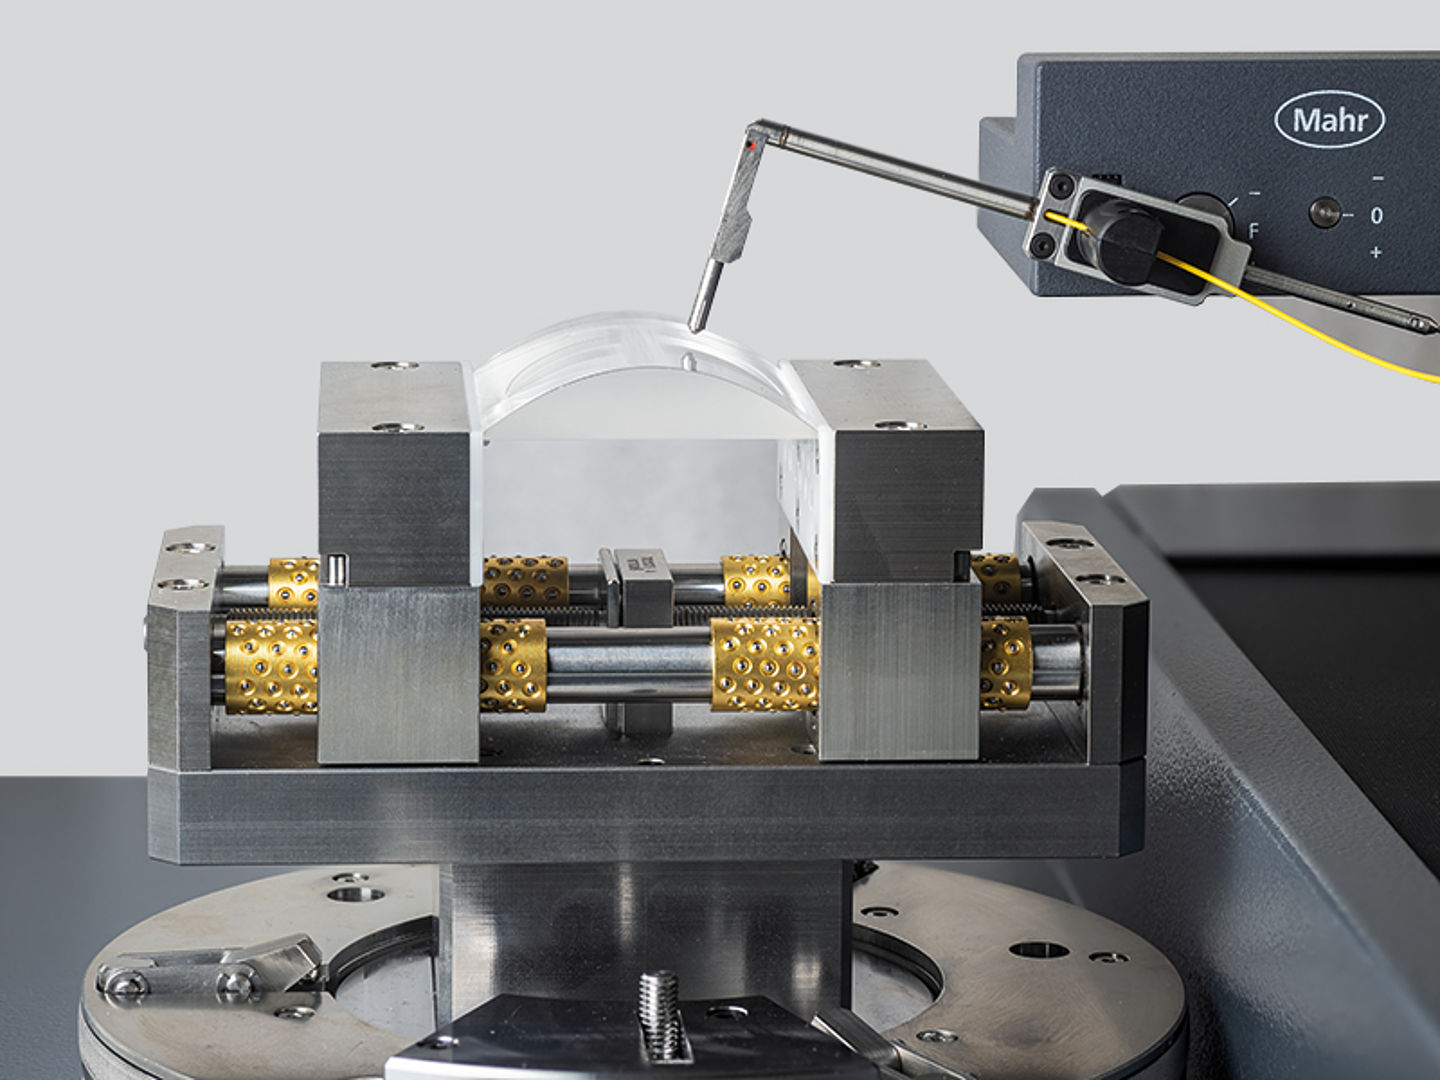
AnyShape software package for more complex geometries
- For more complex geometries such as off-axis optics, toroids, special and free-form optics
- Automatic 3D measurement
- Derivation of aspherical coefficients
- Profile export for correction of processing machines in the file formats *.zygo.dat, *.xyz, *.txt, *.ascii, *.dat, *.x3p, *.fo+
- Evaluation with respect to measured reference marks
- Automatic protocol generation
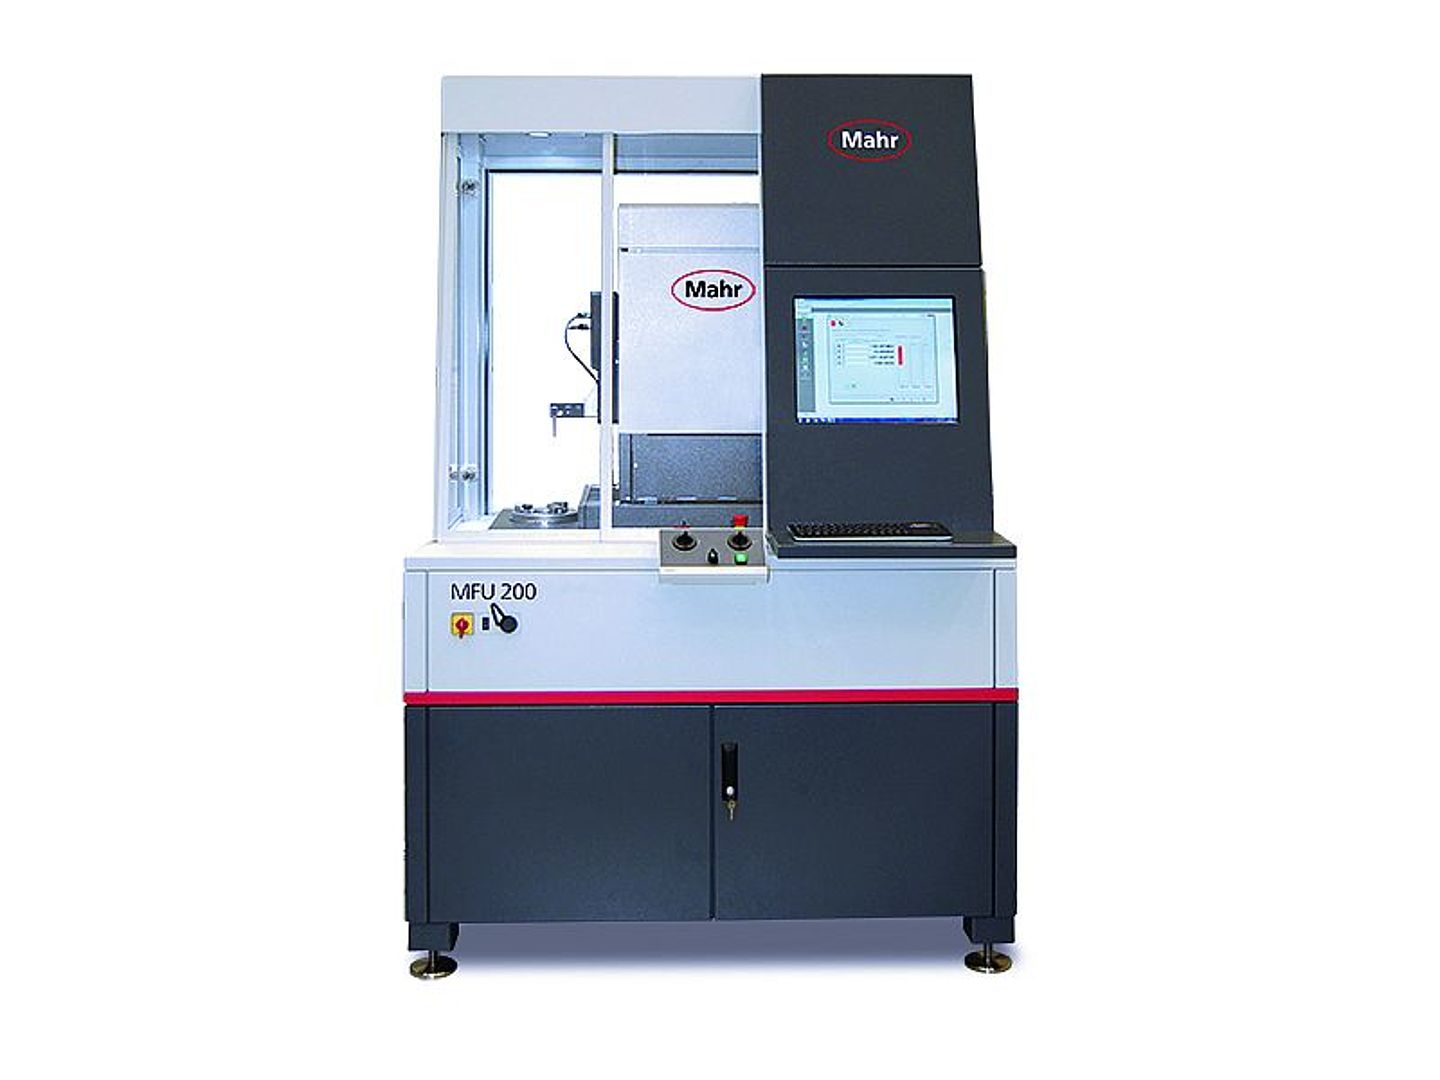
Ultra-precise and universal reference form measuring machine
- Highly precise through nanometer-accurate measurement
- Extremely fast testing of rotationally symmetrical workpieces
- Universally applicable due to extensive evaluation of workpieces according to DIN ISO 1101
- Reliable due to high repeatability
- Economical due to the use of unique technologies
- Insensitive to environmental and operator influences
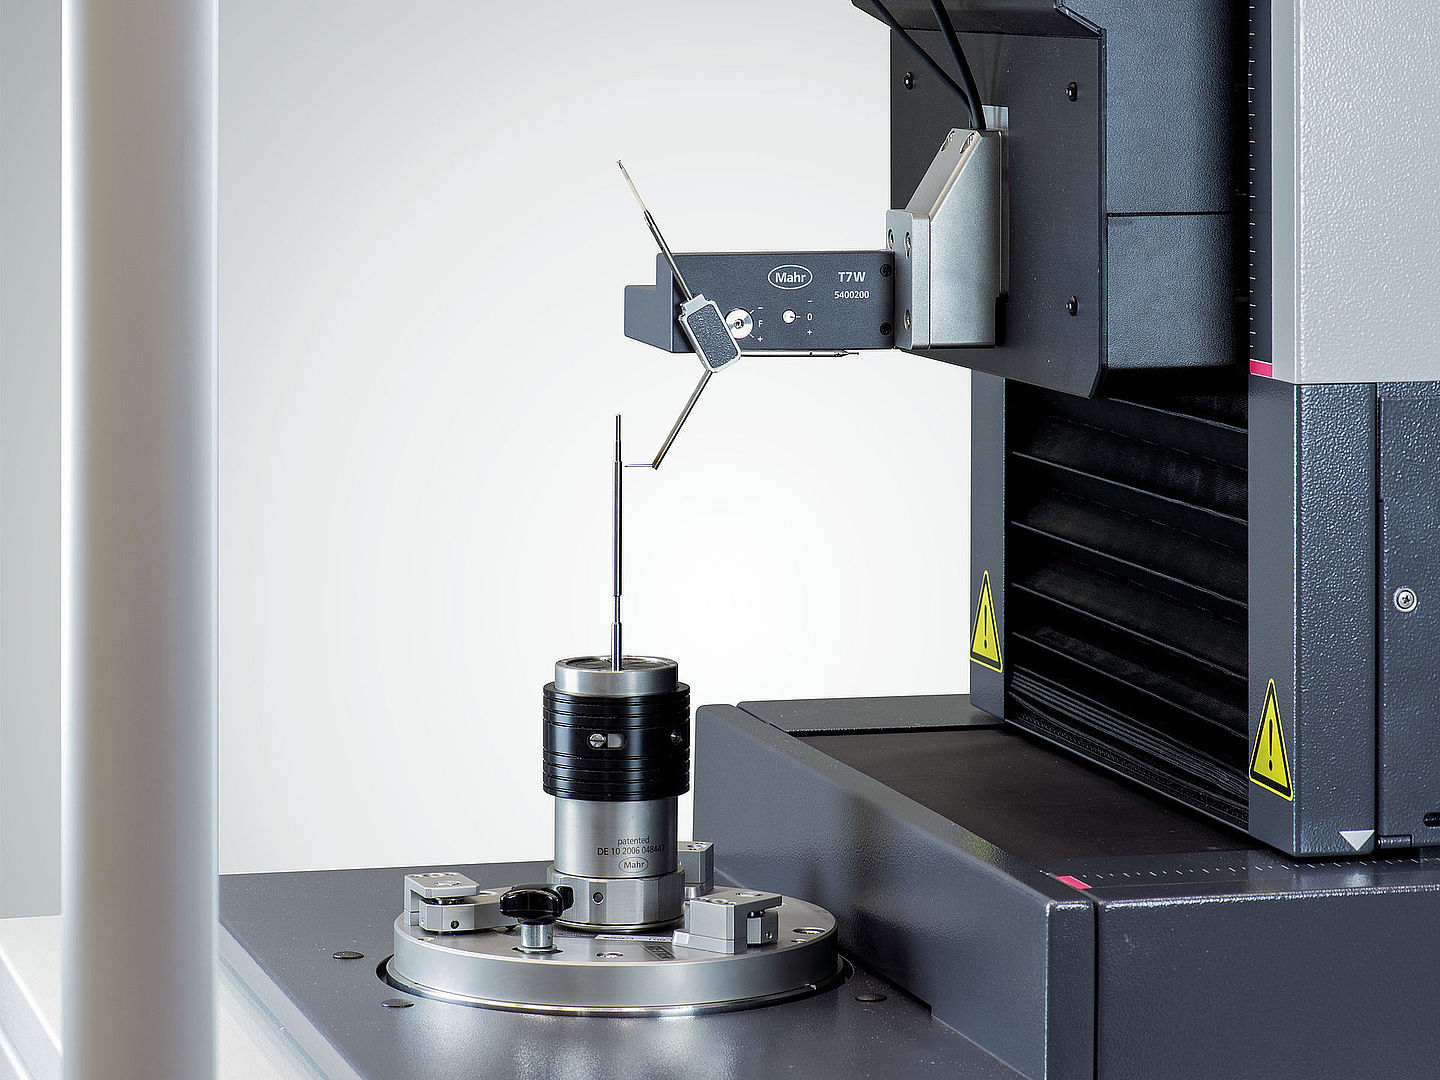
Highly accurate measurement of form & location
- Optimized for use in the measuring room for reference quality
- High reproducibility of measurement results thanks to dynamic real-time compensation: detection and correction of even the smallest deviations during the measurement sequence
- Productivity thanks to high temperature stability – no need for calibration once or several times a day
- Extreme precision thanks to high-precision rotary axis with Mahr precision guides: Roundness deviation of < 20 nm
- Expandable with optical point sensor IPS: combined optical and tactile measurement
- User-friendly operation
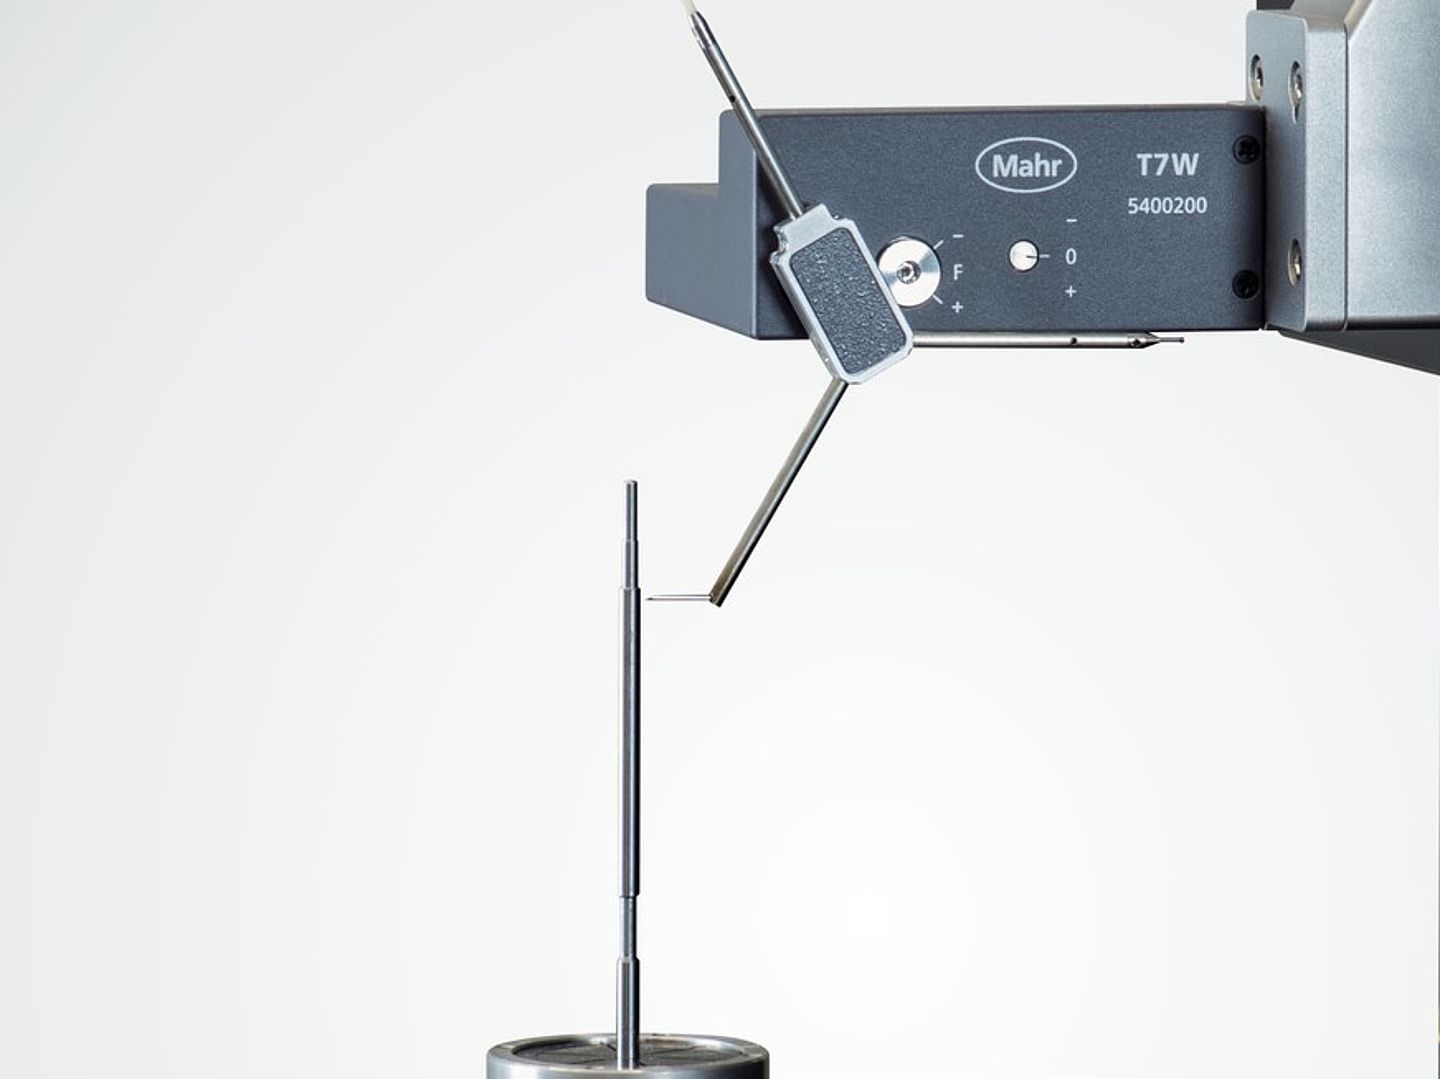
Form measurement close to production
Equipment features such as
- Centering and tilting table with quick clamping device
- Robust mechanical bearings
- Measuring Y-axis
- T7W tactile probe
- MarForm IPS 15 optical sensor
ensure fast and reliable measurement, reduce operator intervention as much as possible and achieve reliable and reproducible measurement results.
